A yarn path is correct only when the matching needles form stable fabric
Threading diagrams and needle rings are often checked separately. In production they meet at every feed: package behaviour changes yarn arrival, needle condition changes loop formation, and take-down changes the load carried by both.
Start with the exact machine parts book, threading diagram and setup sheet. Confirm cylinder identity, gauge, installed needle and sinker references where fitted, cam arrangement, feeders and take-down. Do not infer compatibility from a photograph or from another diameter in the same product family.
Choose one simple fabric first. Use labelled production yarn and establish a slow, observable condition. The aim is to trace a defect back through one known path before adding pattern changes, elastic or difficult packages.
01
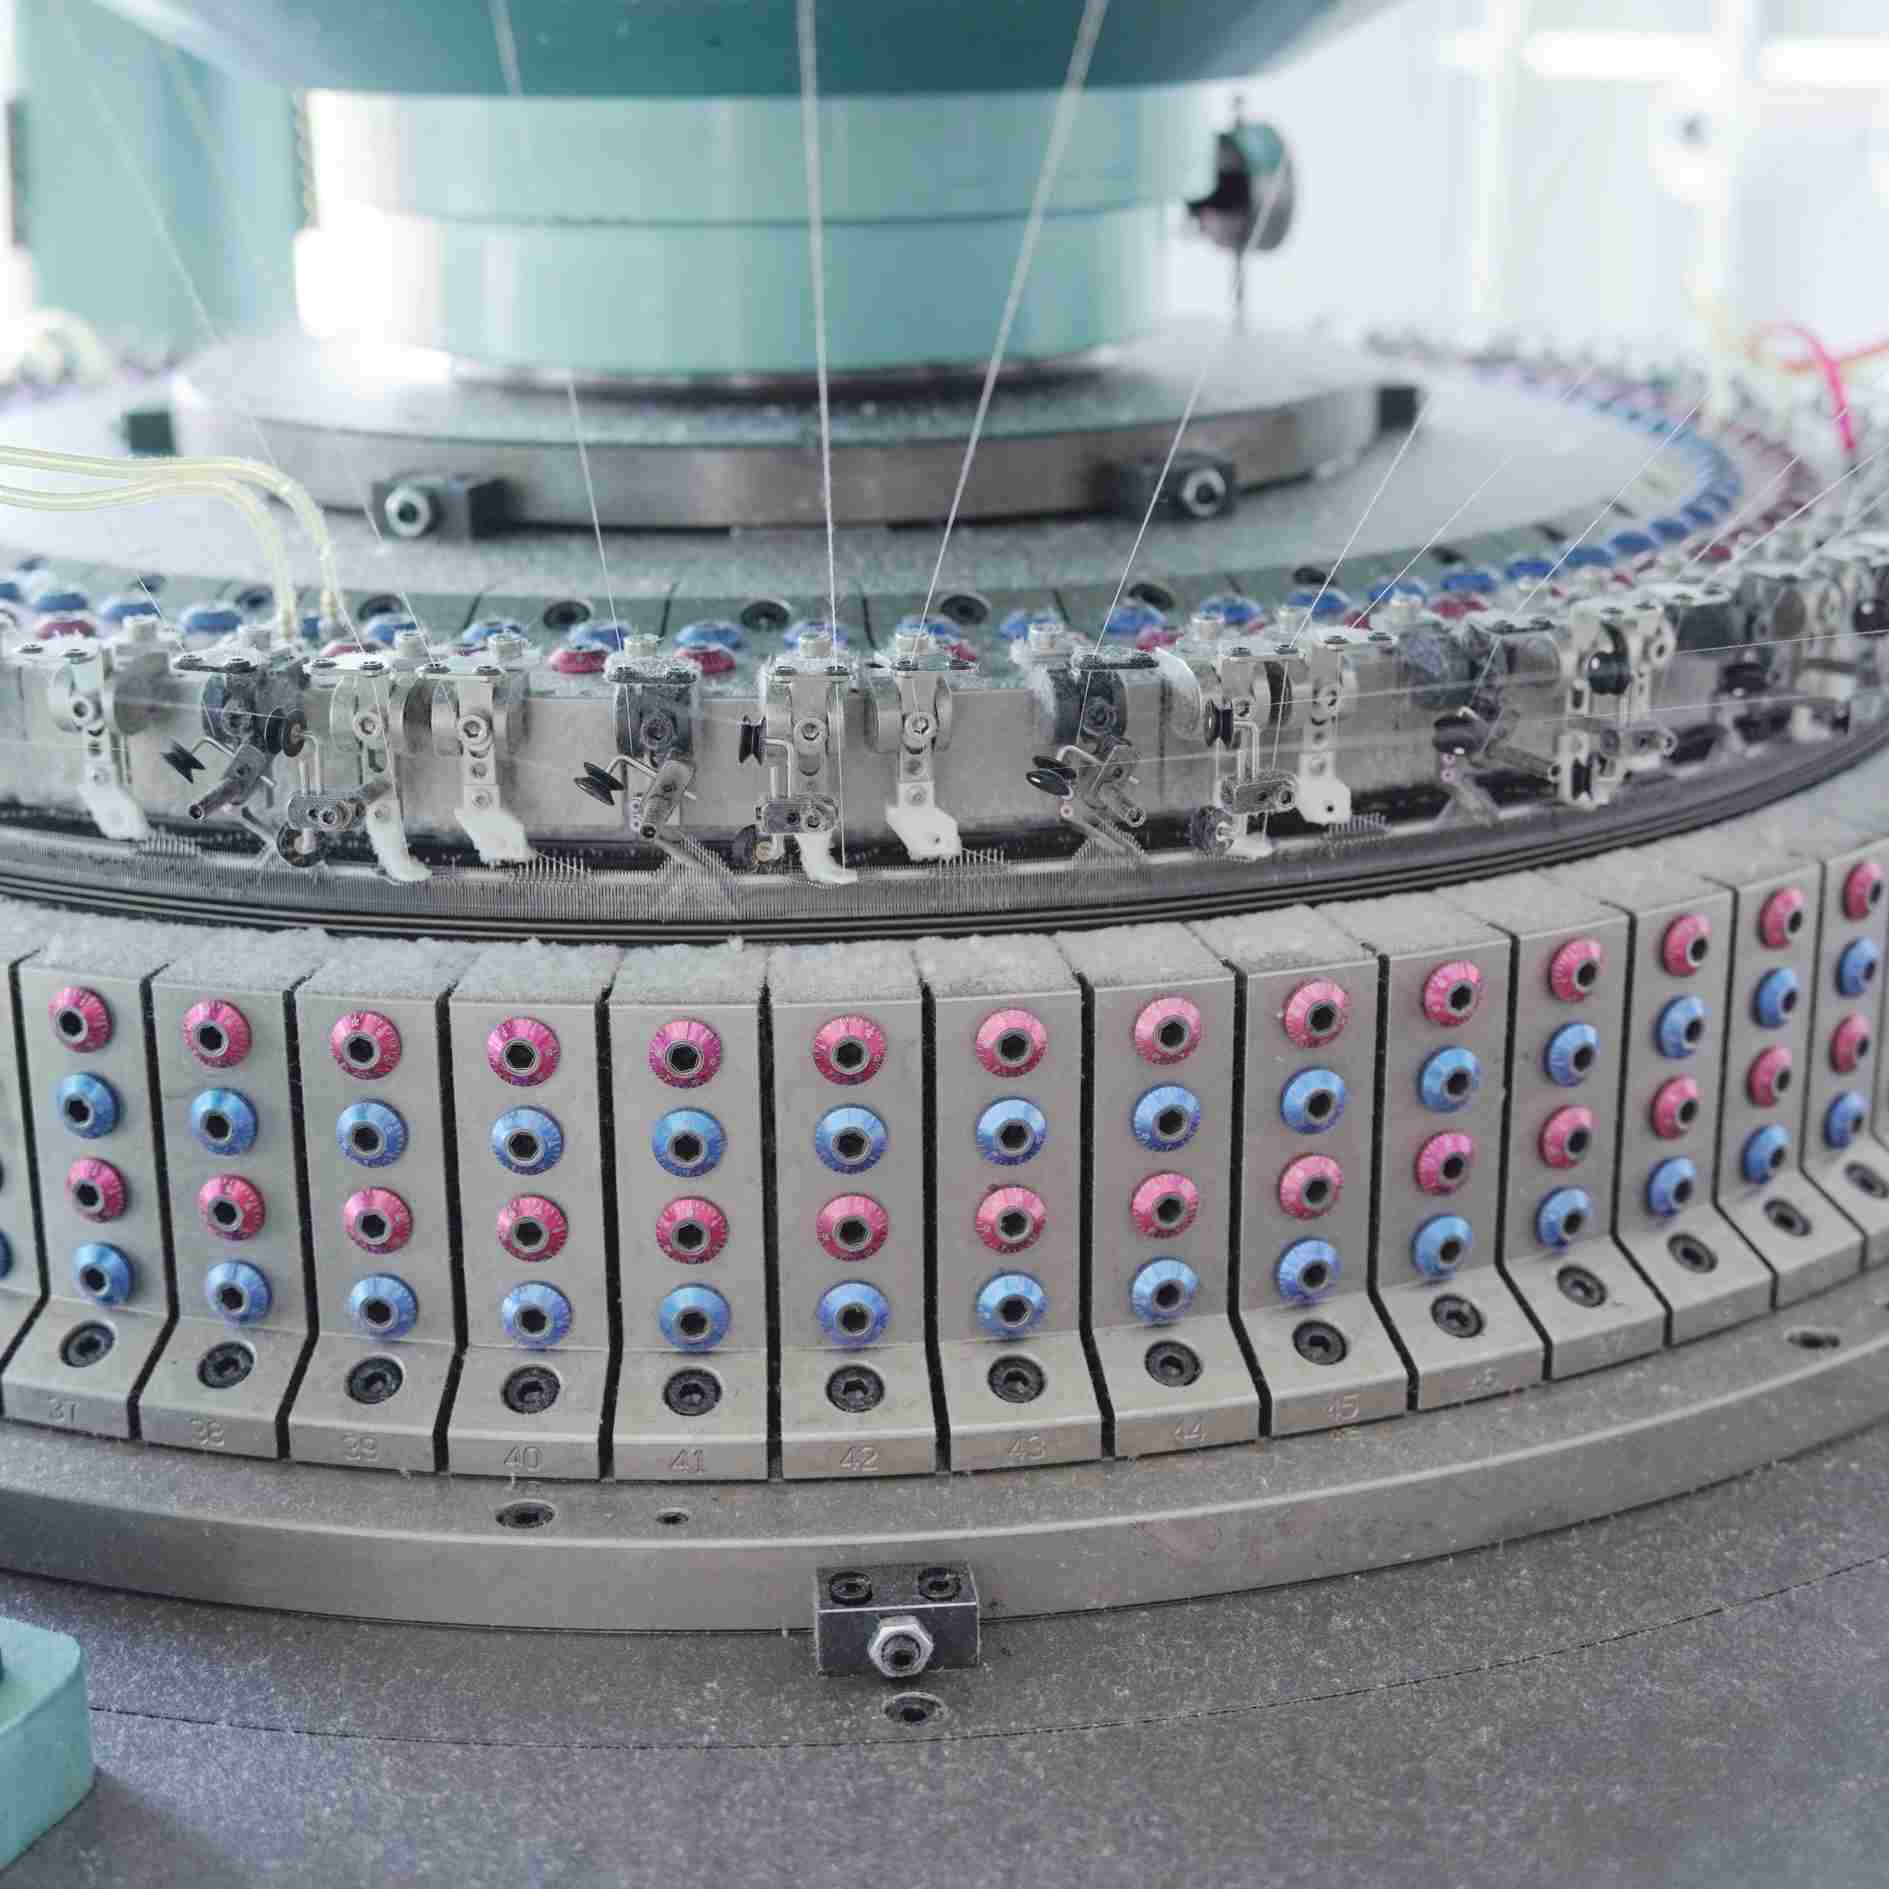
Map physical positions before fitting or threading
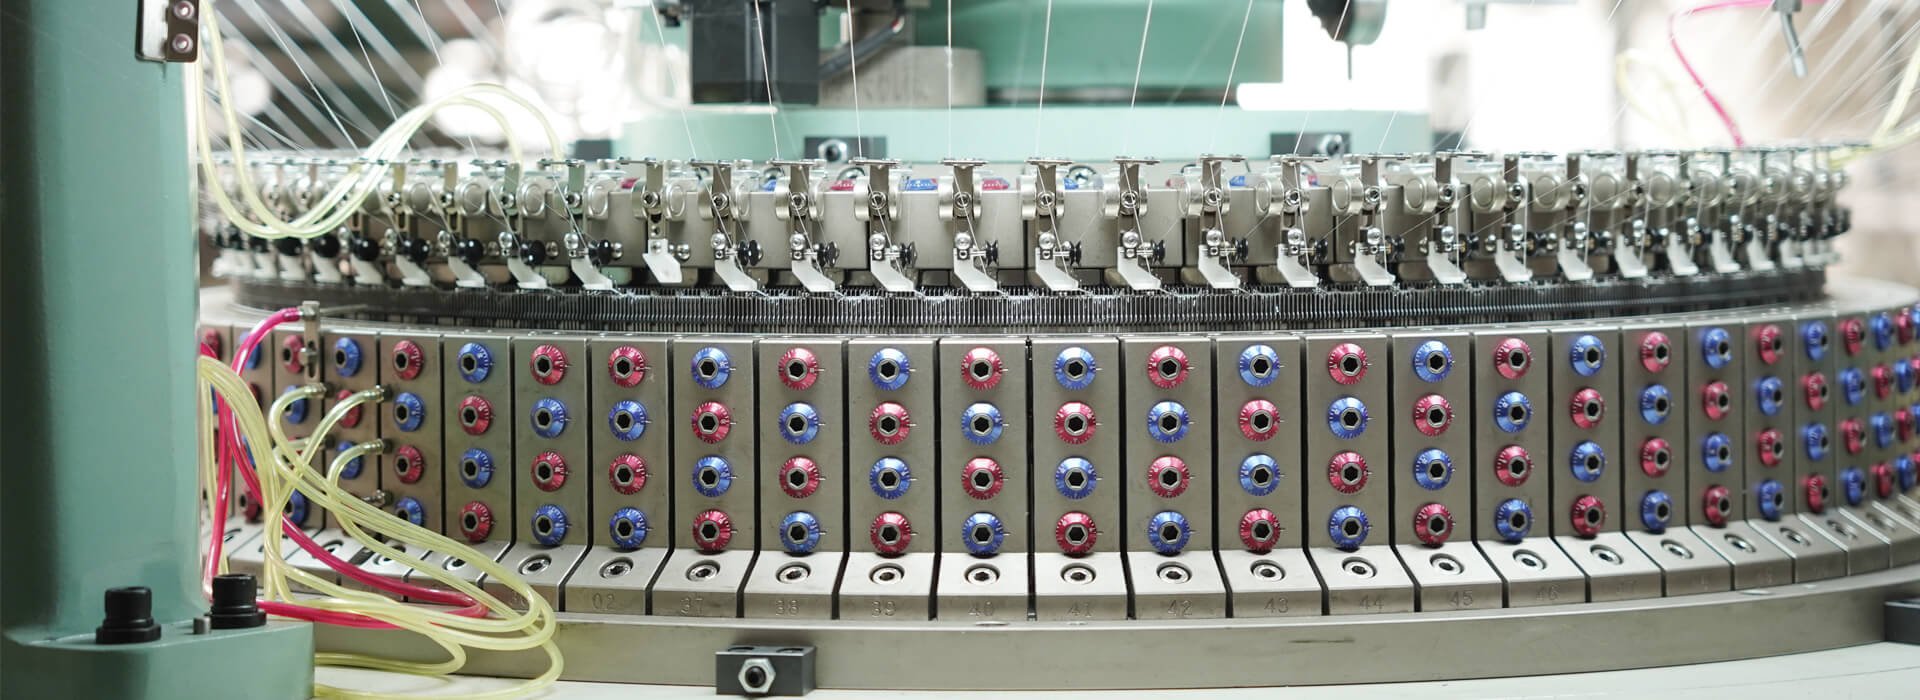
Record the machine zero, feed numbering, cylinder rotation direction and needle-ring position convention used in the manual. Lay out replacement elements by verified part number and inspect butts, hooks, latches and guiding surfaces under consistent light.
If one position differs, mark it rather than adjusting the whole ring. Position marks let the team connect a vertical fabric line to a needle, cam track or feed without dismantling unrelated areas.
02
Follow one yarn from package to hook
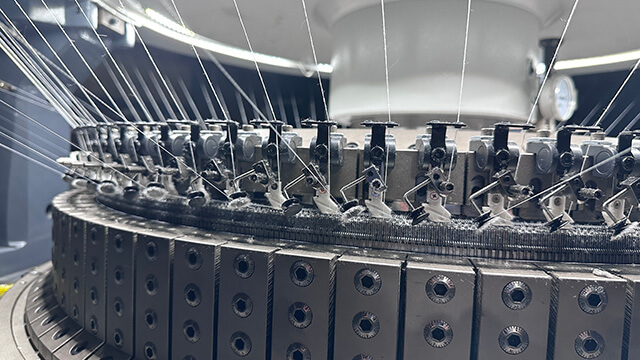
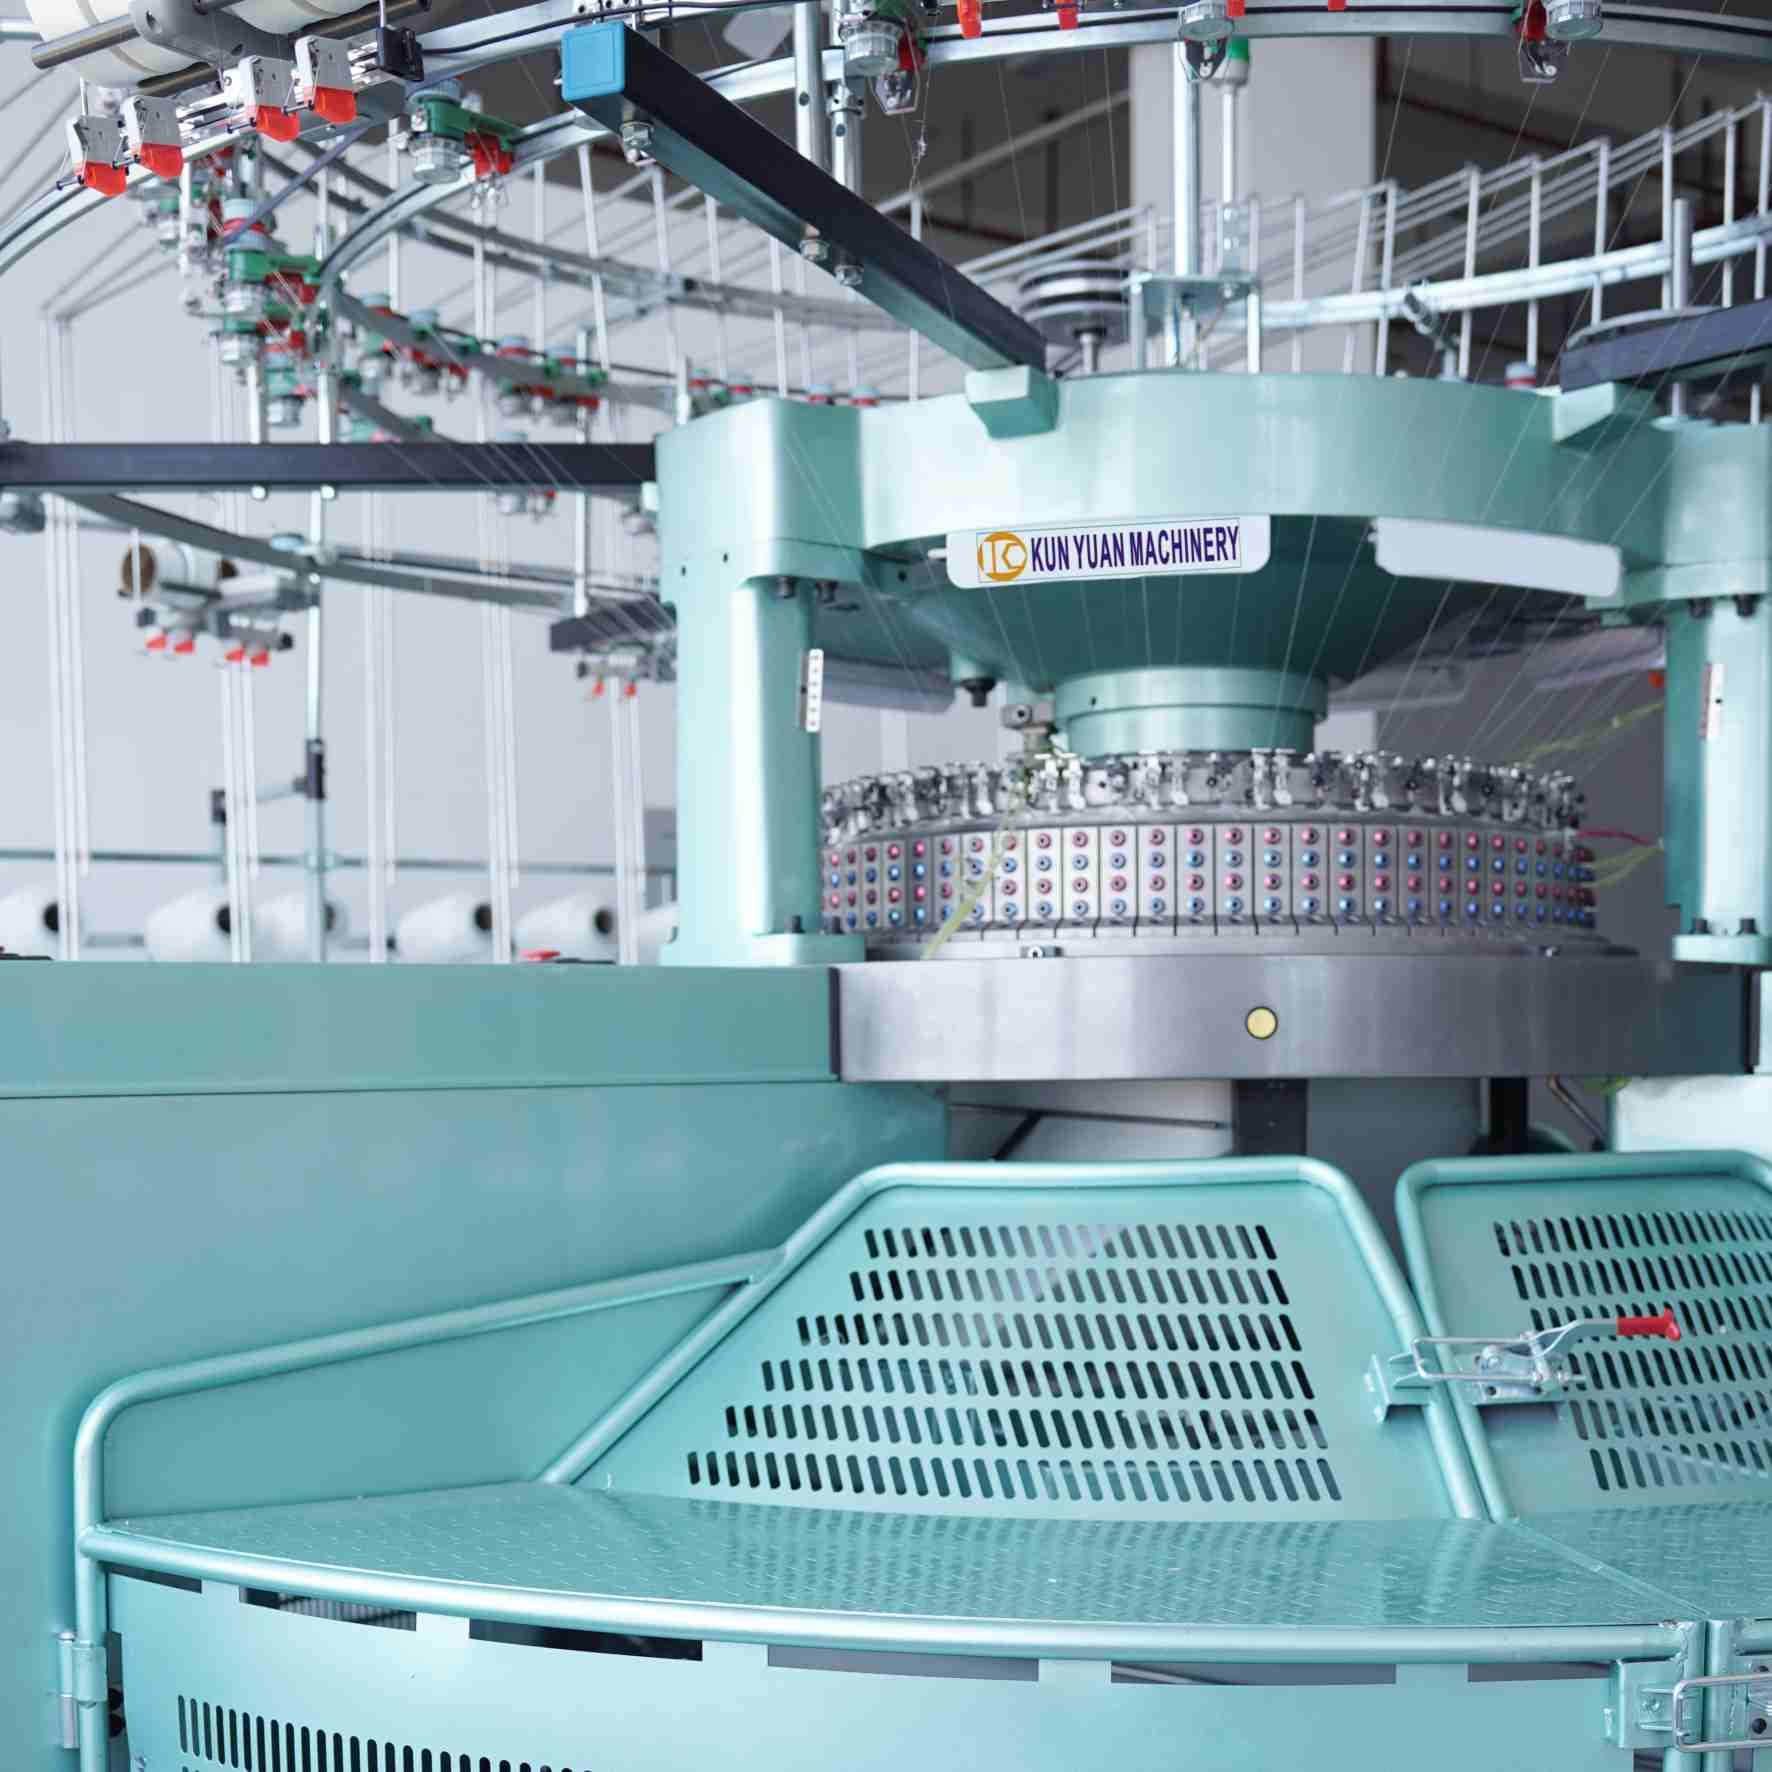
Photograph the package, balloon control, guides, storage or positive-feed device, tension elements and final guide. Record contact points and make sure the path does not cross moving guards or another yarn. Rotate only under the manufacturer-approved safe method while observing entry.
Repeat the trace after covers are installed. A route that looks open during assembly can rub when a guard, cable or feeder returns to its operating position.
03
Use slow observation to connect delivery with knitting action
Watch a marked feed through yarn presentation, hook capture, loop clearing and knock-over using the machine's approved setup procedure. Compare adjacent positions; do not publish or copy universal timing clearances because model, gauge and structure determine the permitted relationship.
When a miss or damaged loop appears, preserve the needle position and fabric course. Change one verified component or setting, then knit another marked section so cause and result stay linked.
Balance fabric withdrawal before increasing speed
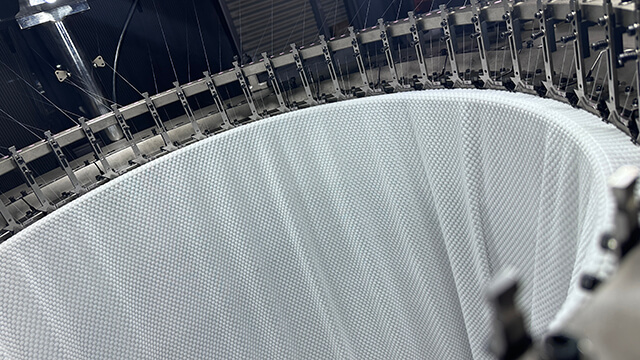
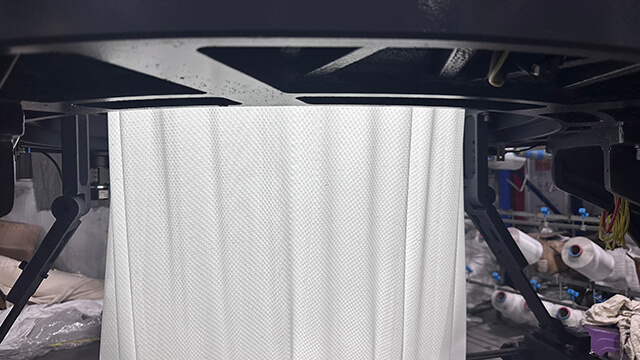
Check that the tube leaves the knitting area without twist, localized drag or contact with obstructions. Record take-down and winding settings with the accepted stitch length and yarn lot. Uneven withdrawal can imitate a feed or needle problem by changing loop load around the circumference.
After a stop and restart, inspect the marked courses for a bar, length change or dropped stitch. A stable steady-state panel does not prove the setup can recover from normal production interruptions.
Index the needle ring and feed positions before adjustment.
Needle-ring and yarn-path map
Reference point
Record
Fabric clue
Controlled response
Needle position
Part and ring index
Vertical line or miss
Inspect one marked position
Feed path
Guides and device setting
Intermittent tension band
Trace one labelled yarn
Knitting point
Approved relative condition
Dropped or damaged loop
Compare adjacent positions
Take-down
Setting and tube path
Bar, twist or length drift
Mark restart and observe
Trace one labelled yarn through every contact point.Mark stops and restarts on the tube before judging stability.
Small-diameter setup questions
Can needle type be chosen by gauge alone?
No. Use the exact machine documentation and verified part identity; gauge is only one compatibility factor.
Why mark machine positions?
A physical index connects fabric defects to feeds, needles and tracks, reducing unnecessary changes elsewhere.
Should all yarns use one tension setting?
No. Material, count, package build and delivery role change yarn behaviour. Establish and record each path.
When can speed be increased?
Only after slow observation, stable take-down and a marked restart show sound loop formation at the current setup.
What belongs in the handover record?
Keep parts identities, position convention, yarn-path photos, settings and the matching accepted fabric sample.
Conclusion
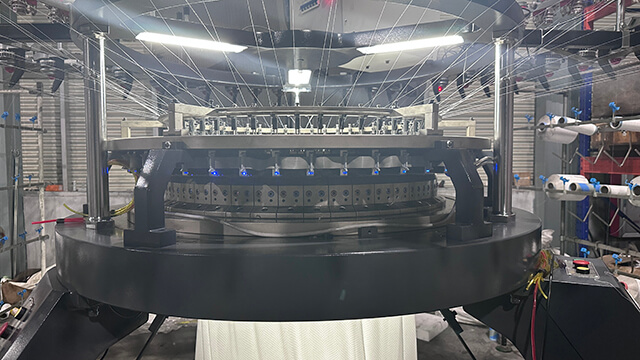
The needle ring, feed path and fabric tube are one diagnostic chain. A position map and marked restart sample make setup teachable and repeatable without pretending that a generic numerical clearance can replace the exact machine manual.
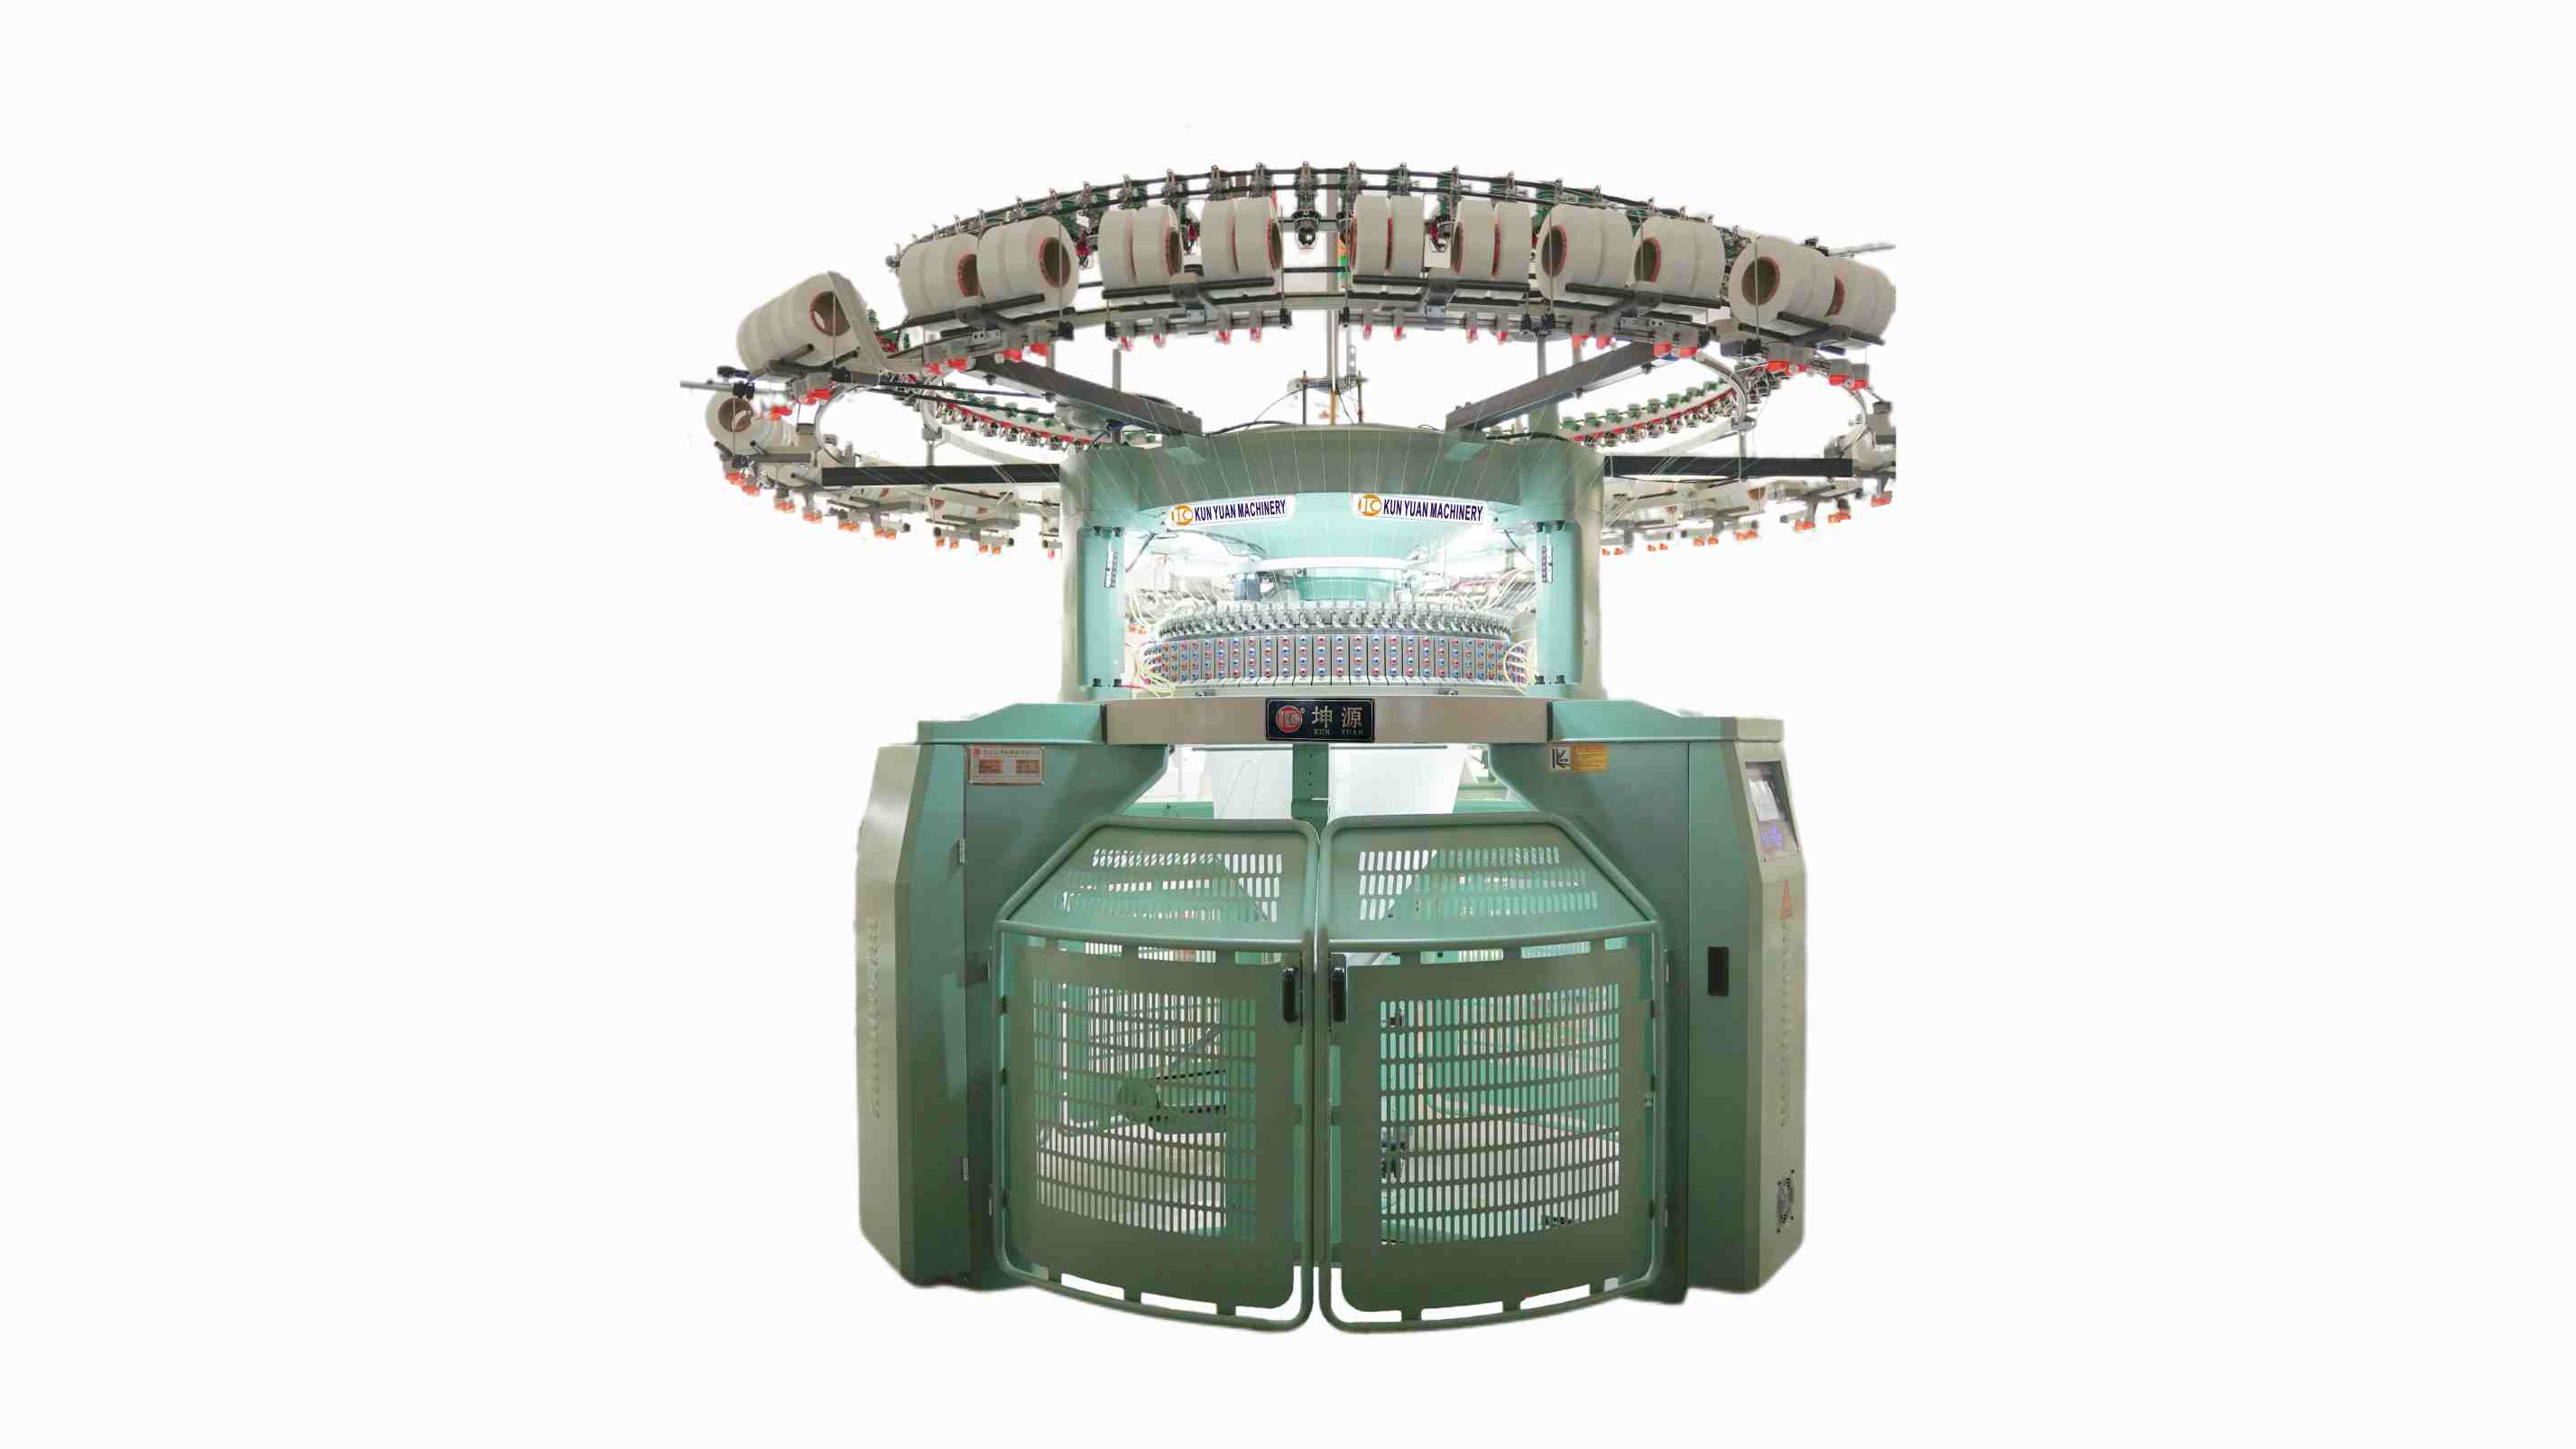
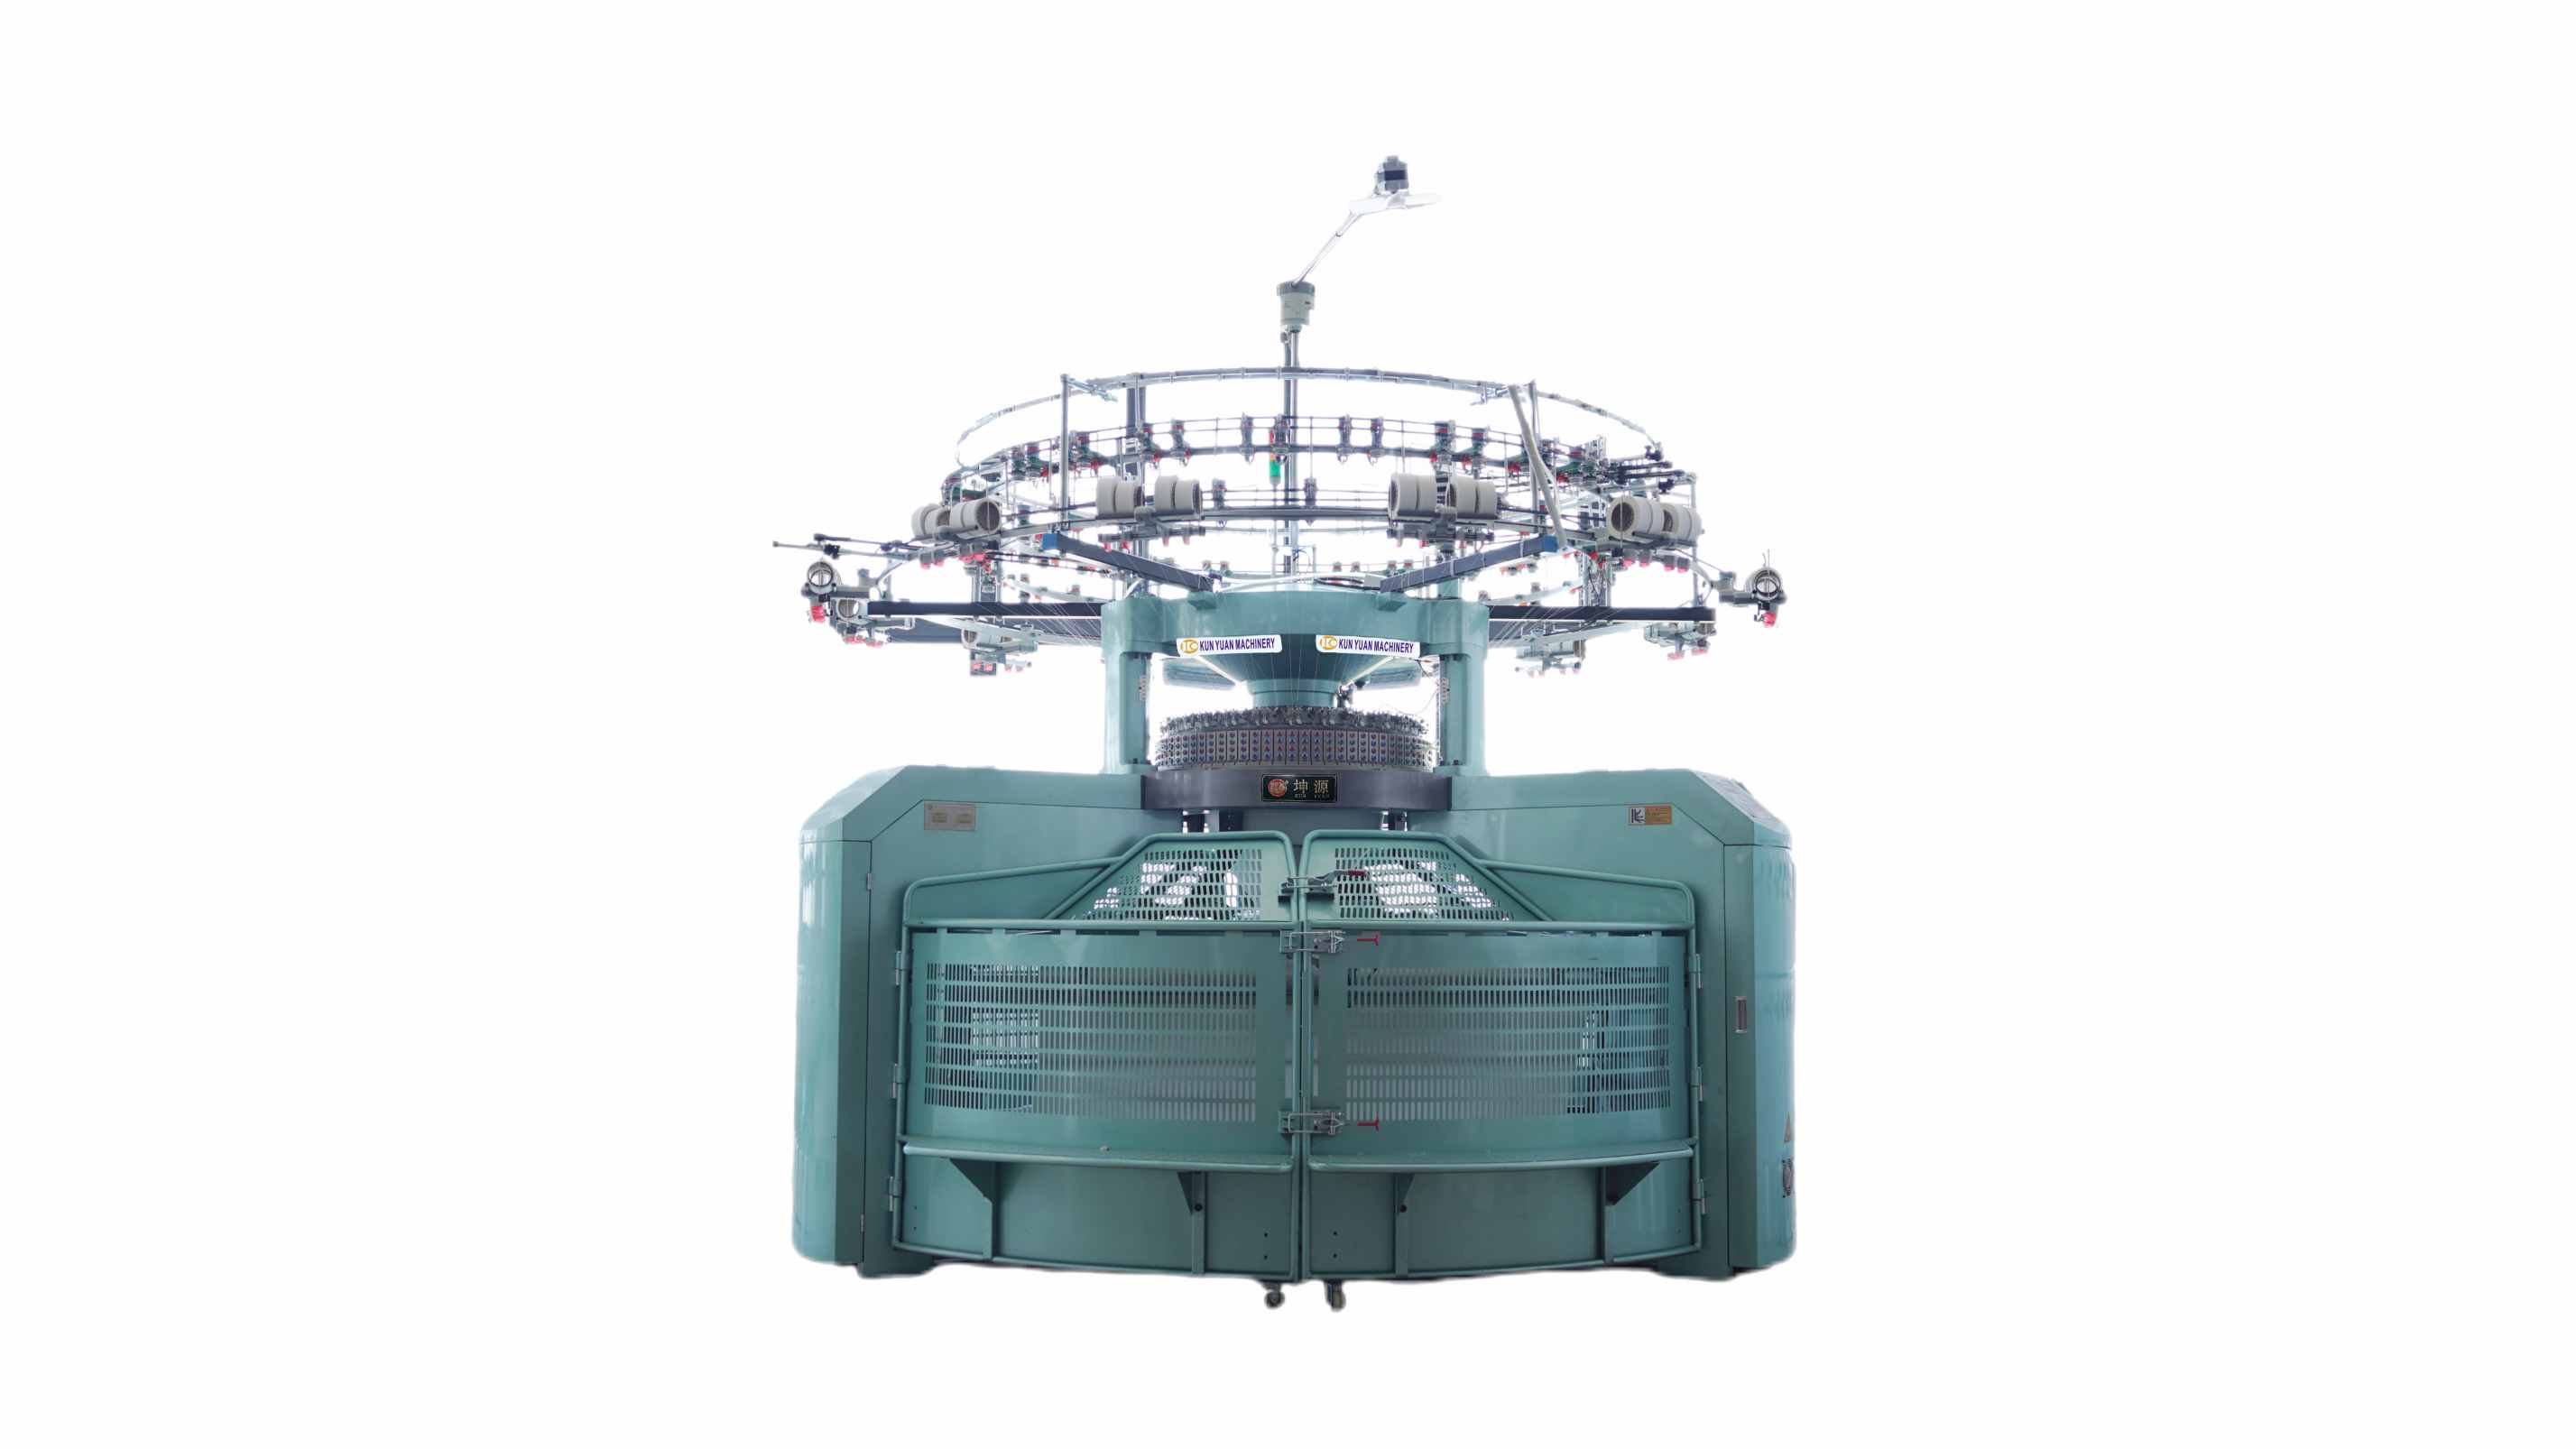
Use the parameter map when discussing the circular knitting machine range so cylinder identity, yarn delivery and take-down are documented for the offered small-diameter configuration.




 Tel: +86-13859034518
 Email: info@kunyuanmachine.com
 MP/WhatsApp: +86-13859034518
 Manufacturer Address:Bacuo Village, Yonghe Town, Jinjiang City, Fujian Province