Change one linked variable and keep the fabric position visible
Gauge, cylinder-and-dial relationship, yarn delivery and take-down meet inside every rib loop. Treating them as independent checklist items invites compensating adjustments: one setting hides another fault, the sample briefly improves, and no one can reload the condition later.
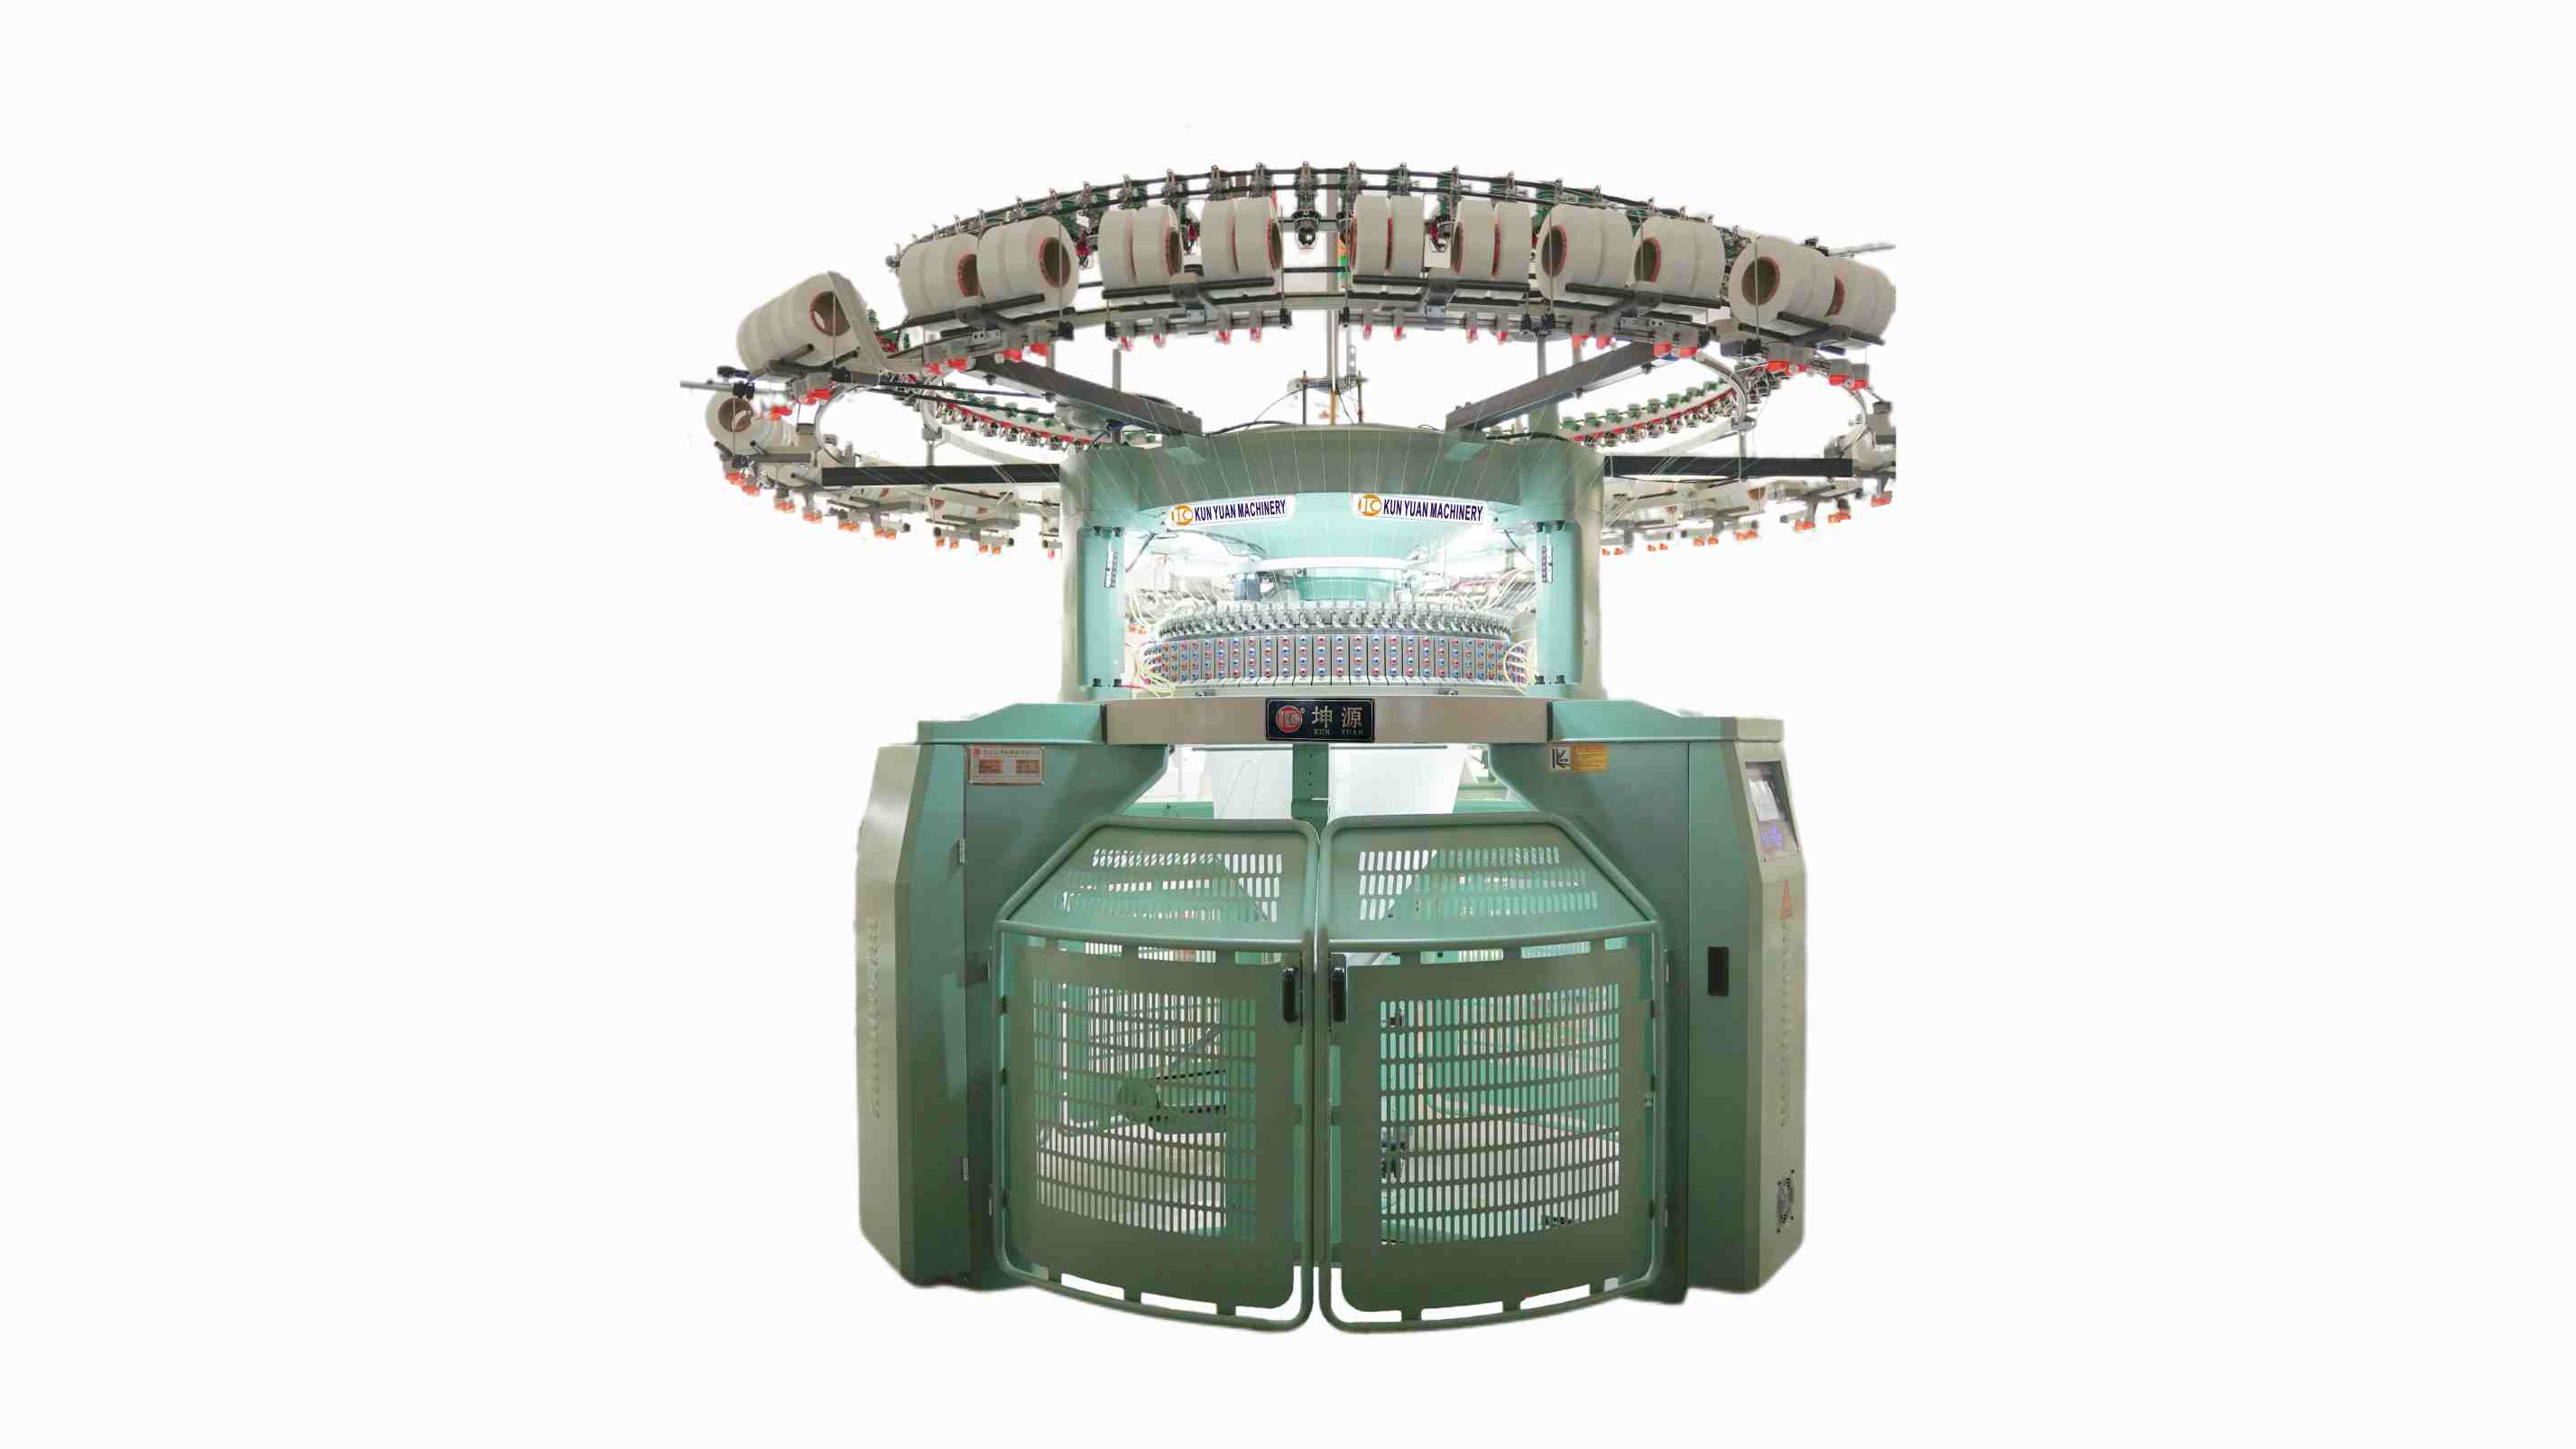
Use the exact machine manual and offered model sheet for adjustment procedures and limits. Published rib machines vary in tracks, diameters, gauge ranges, feeders, yarn guides and timing capability. This article explains the trial logic, not a universal dial setting.
Choose one rib structure and production yarn, then mark the roll before every controlled change. Record the machine condition before looking at the fabric. That sequence prevents the final sample from becoming an unexplained collection of technician memory.
01
Confirm the needle system before interpreting fabric fineness
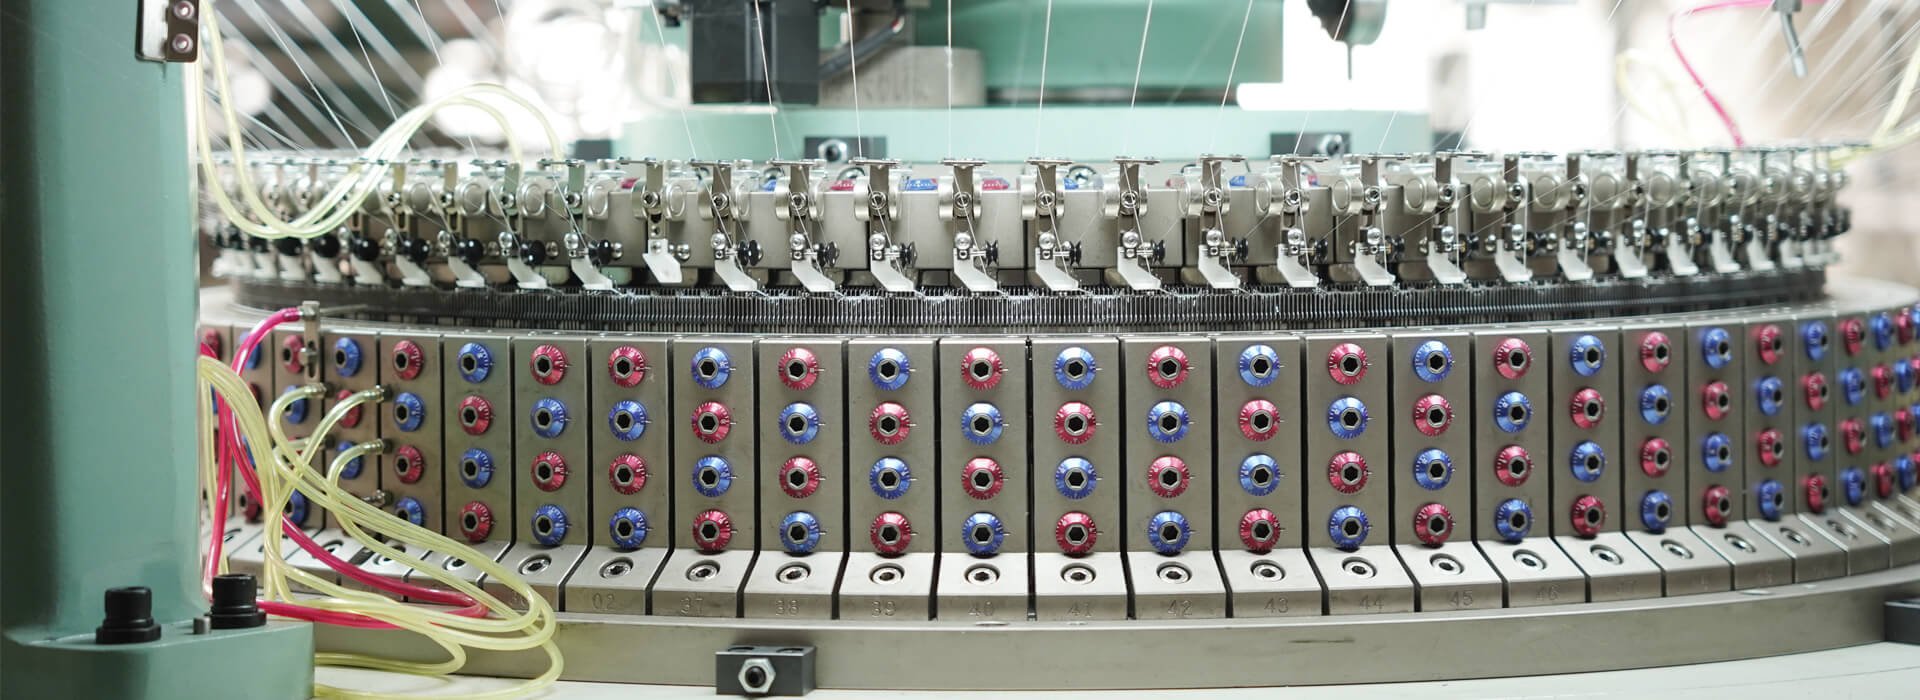
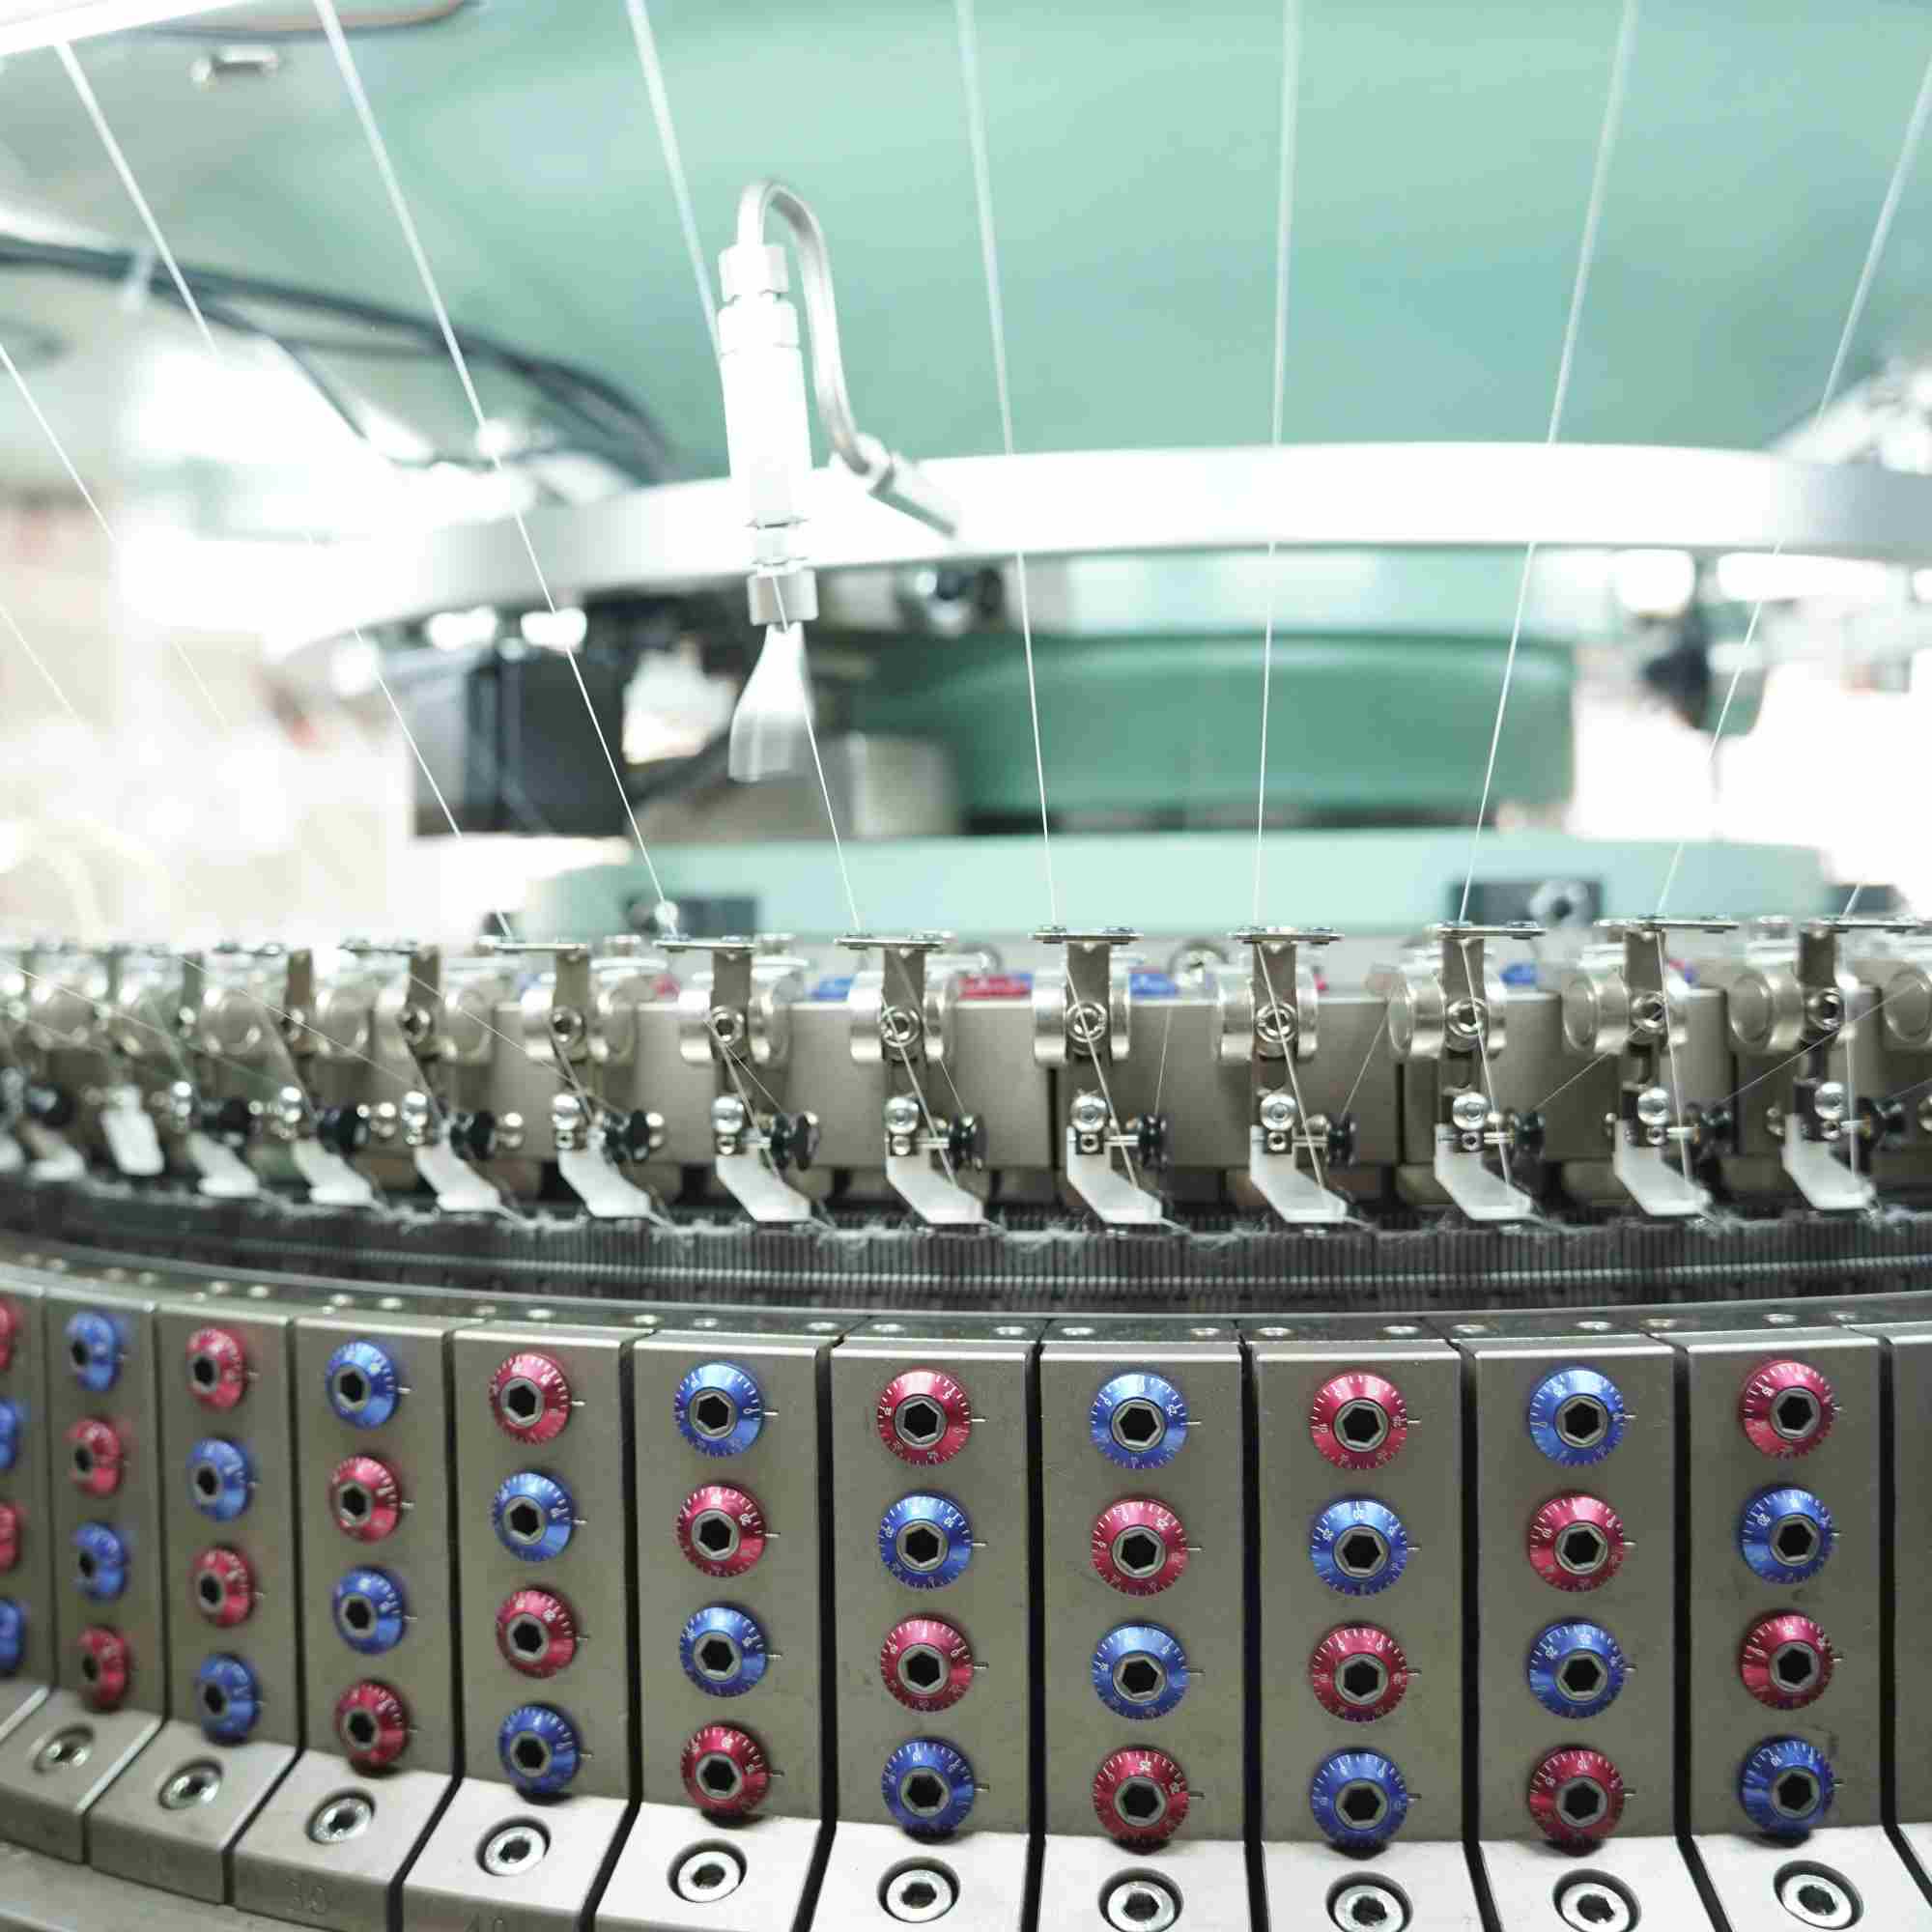
Gauge belongs to a complete needle-and-cylinder or dial system, not merely a target appearance. Verify needle designation, tricks, dial and cylinder condition, yarn count range supported by the model, and the rib set-out intended for the sample. A fine visual line can also come from stitch setting or finishing, so fabric appearance alone does not identify gauge.
Inspect replaced elements as a group. Mixing revisions or wear levels can create repeating marks that resemble a timing problem. Preserve part packages and the track position of any damaged needle or dial element.
02
Use timing to study loop formation, not to chase elasticity blindly
The relative needle movement changes how yarn is received, held and released between beds. Observe the yarn and needle path slowly under safe service conditions, using the manufacturer's reference and limits. Record dial height and timing together because changing either can alter the observed clearance.
Judge loop definition, dropped stitches, damaged yarn and the distribution of tension across the rib. Finished elasticity also depends on yarn, stitch length and processing, so do not credit timing for every change in recovery.
03
Stabilize ground and elastomer delivery before raising speed
Map packages, storage or positive feeders, brakes, guides and any elastomer unit by feed. Measure or consistently reference starting tension and watch transitions as the package unwinds. One intermittent package fault can look like a vertical machine line if it repeatedly affects the same feed.
When plating is used, confirm the position of both yarns at the needle and inspect the face and reverse. Keep elastomer settings and recovery test results separate from ground-yarn delivery.
Lock take-down only after width, density and roll build settle
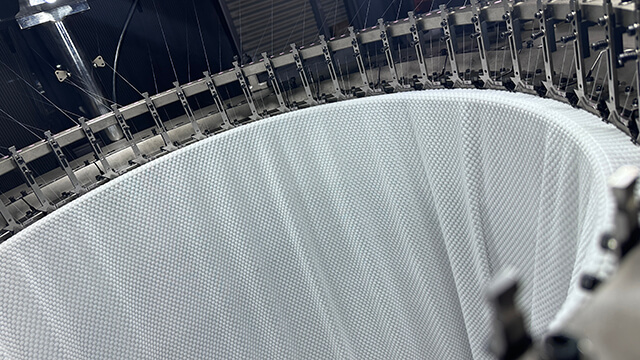
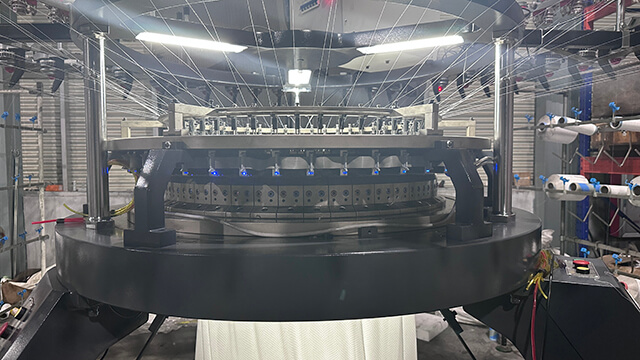
Take-down influences course density, loop shape and the force carried through the fabric. Observe the spreader, rollers and winding condition for slip, edge pressure or an uneven roll. A clean knitting head cannot compensate for unstable fabric handling below it.
Run a controlled stop and restart at the accepted settings. Mark the restart course and inspect it after relaxation or finishing. If the line remains visible, the trial is not repeatable enough for handover.
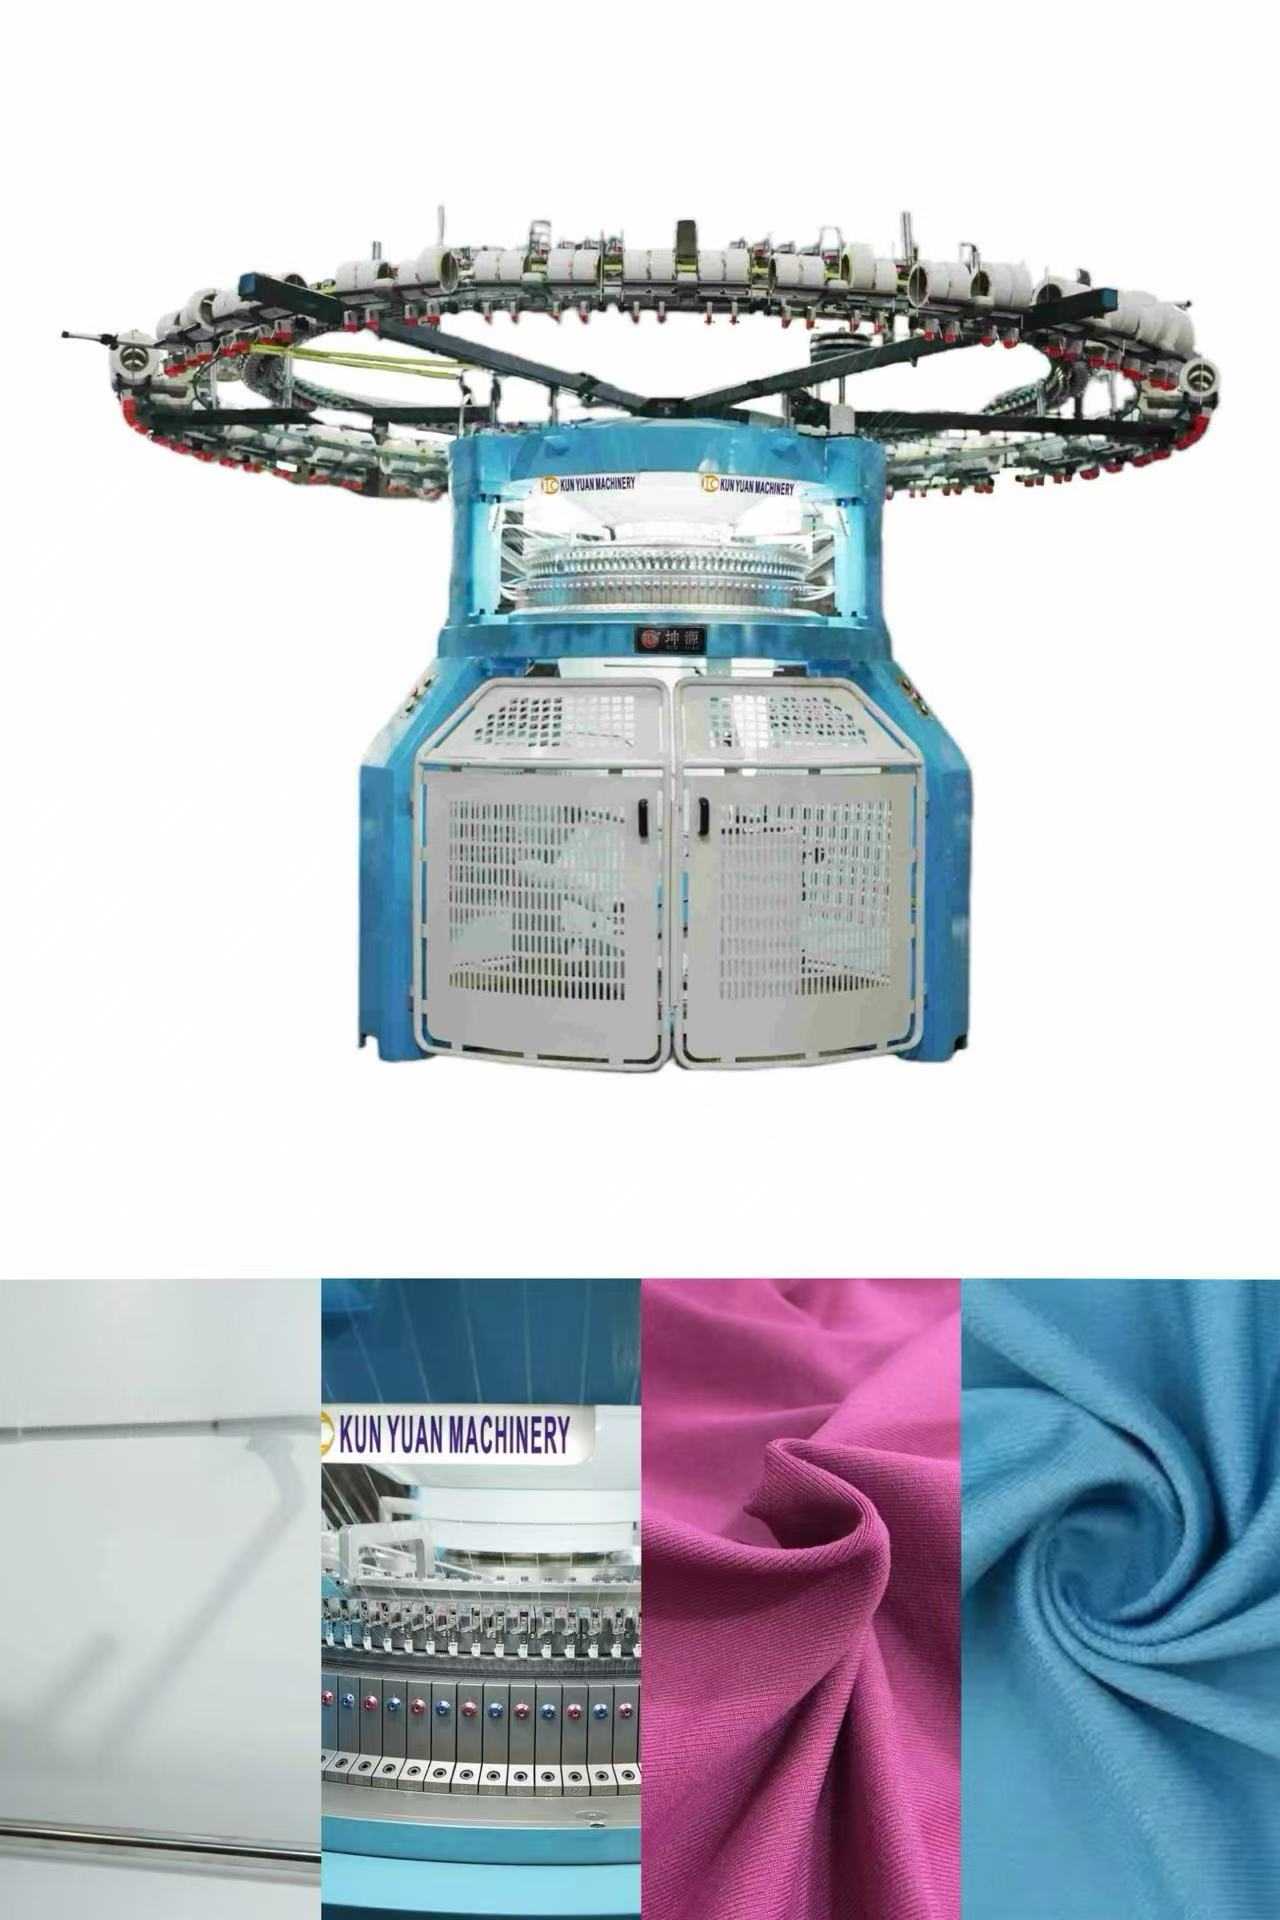
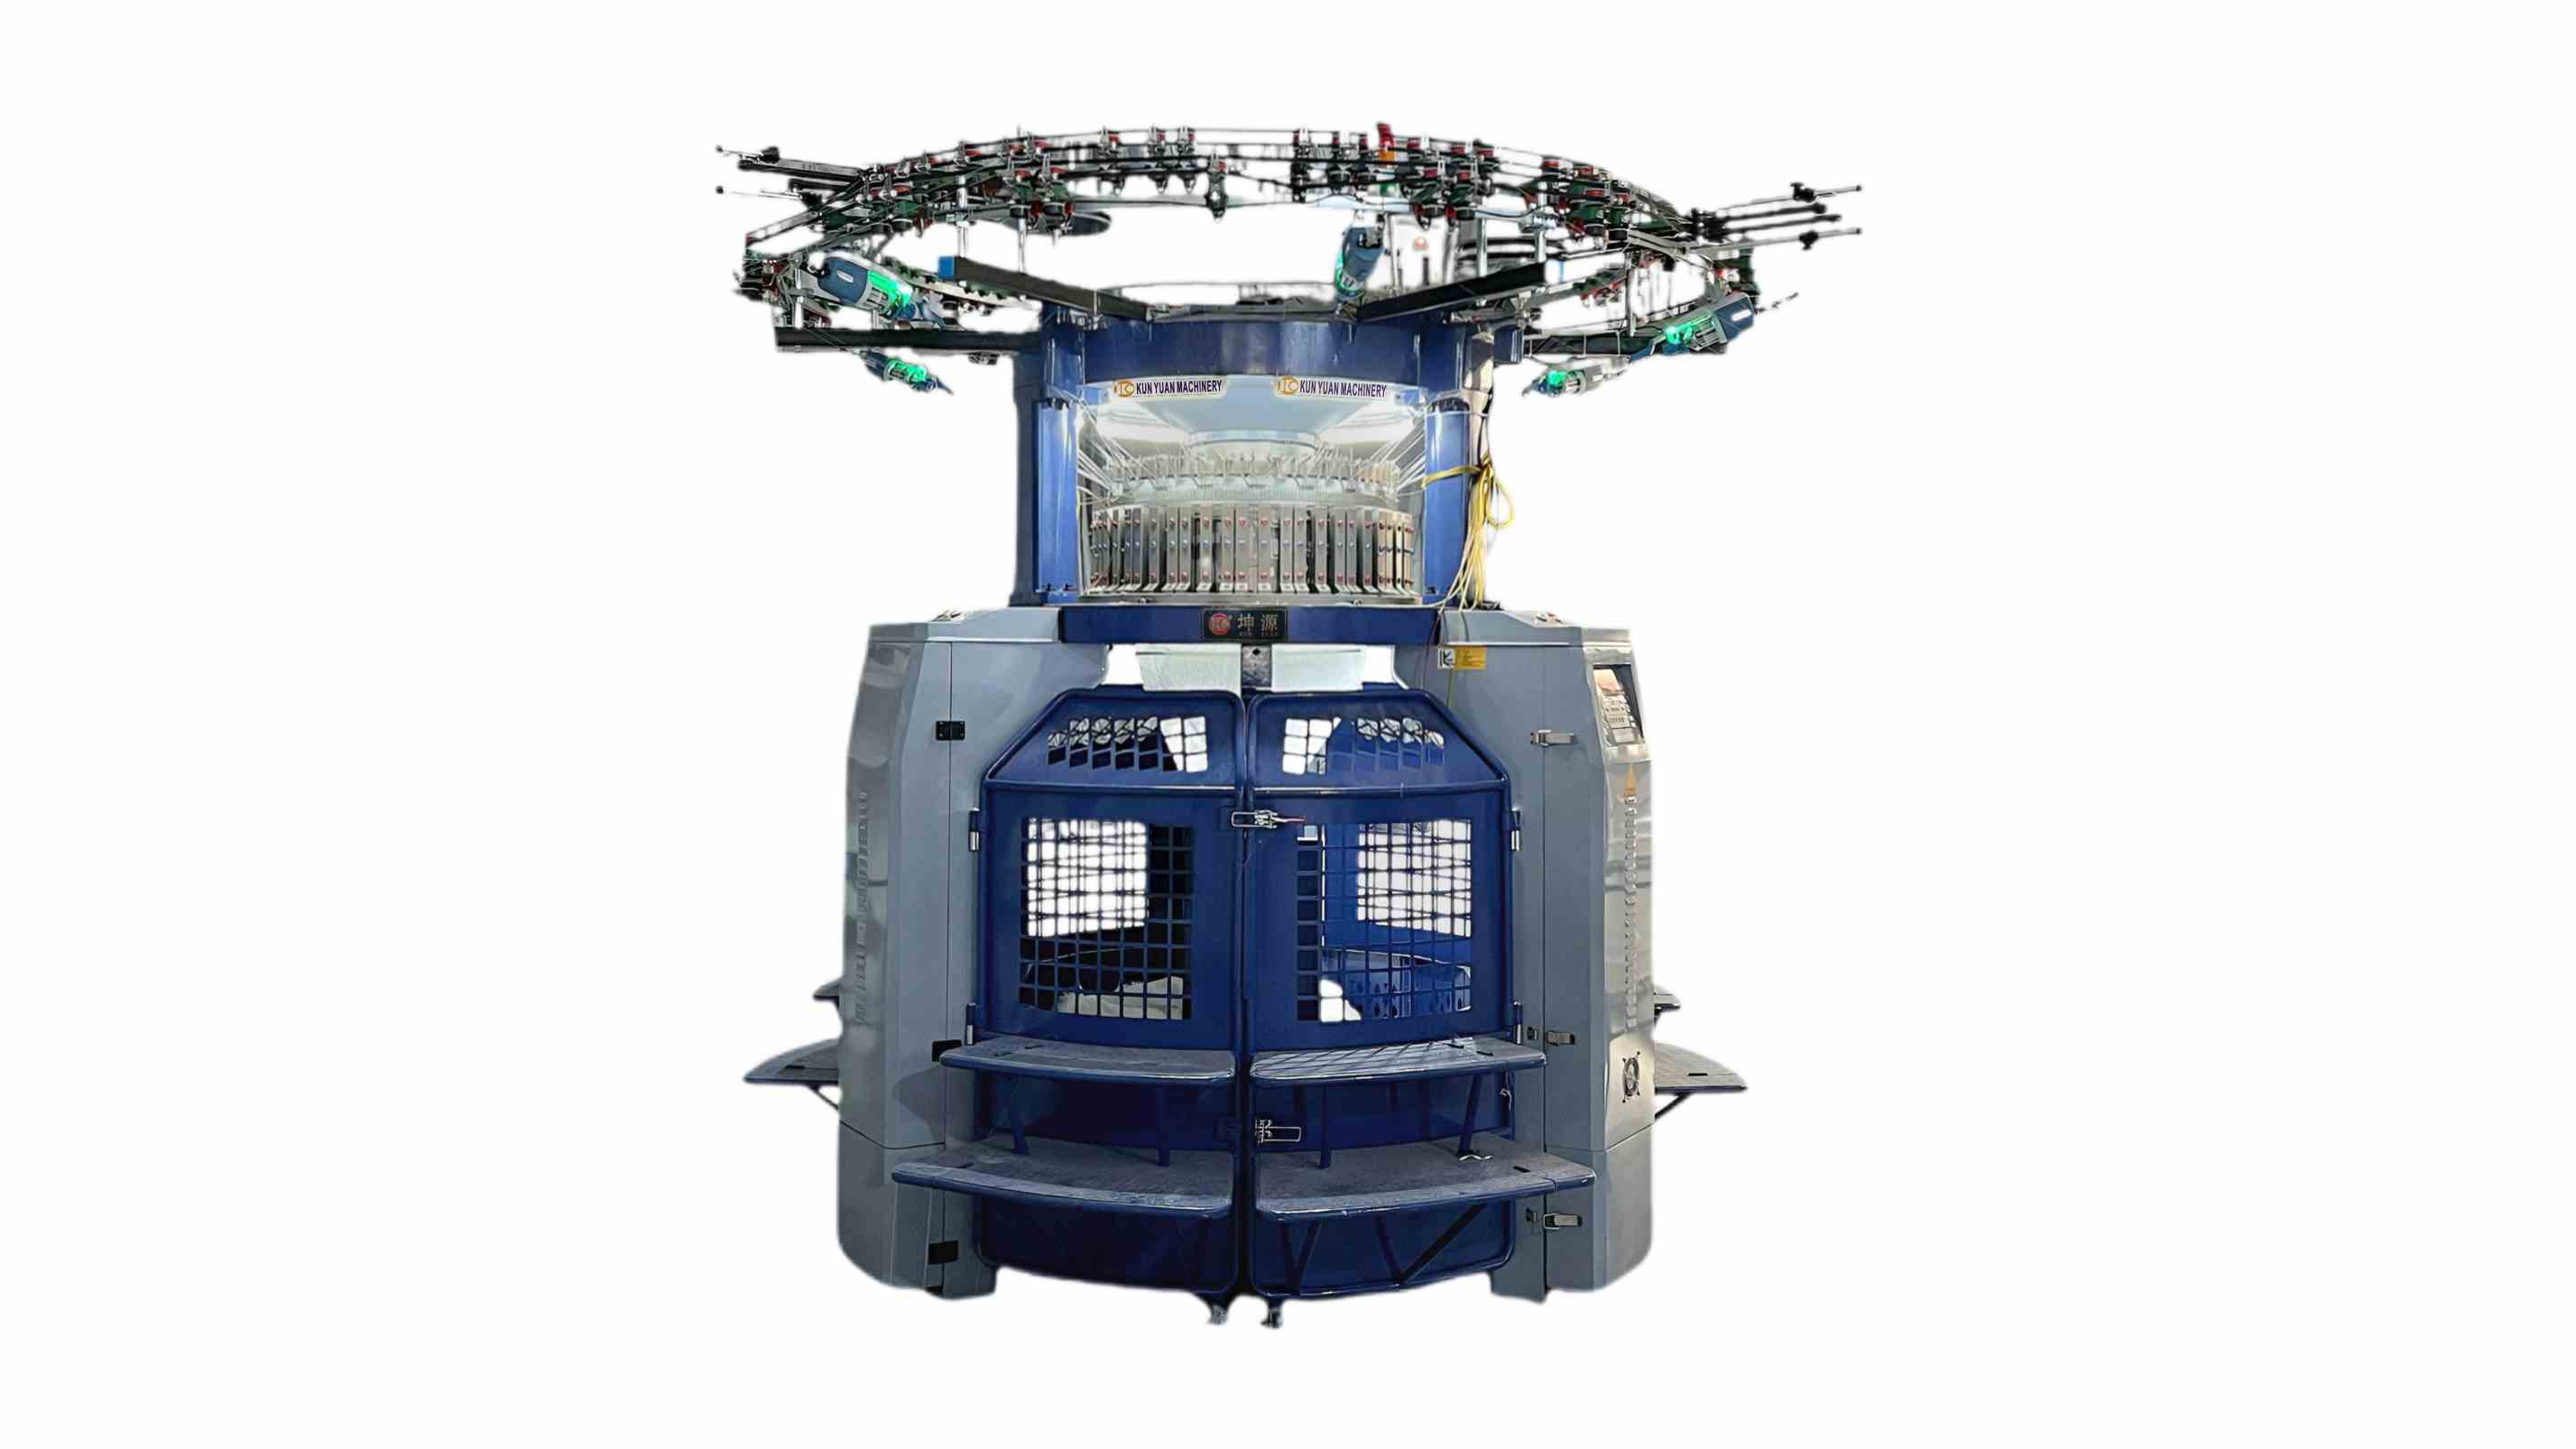
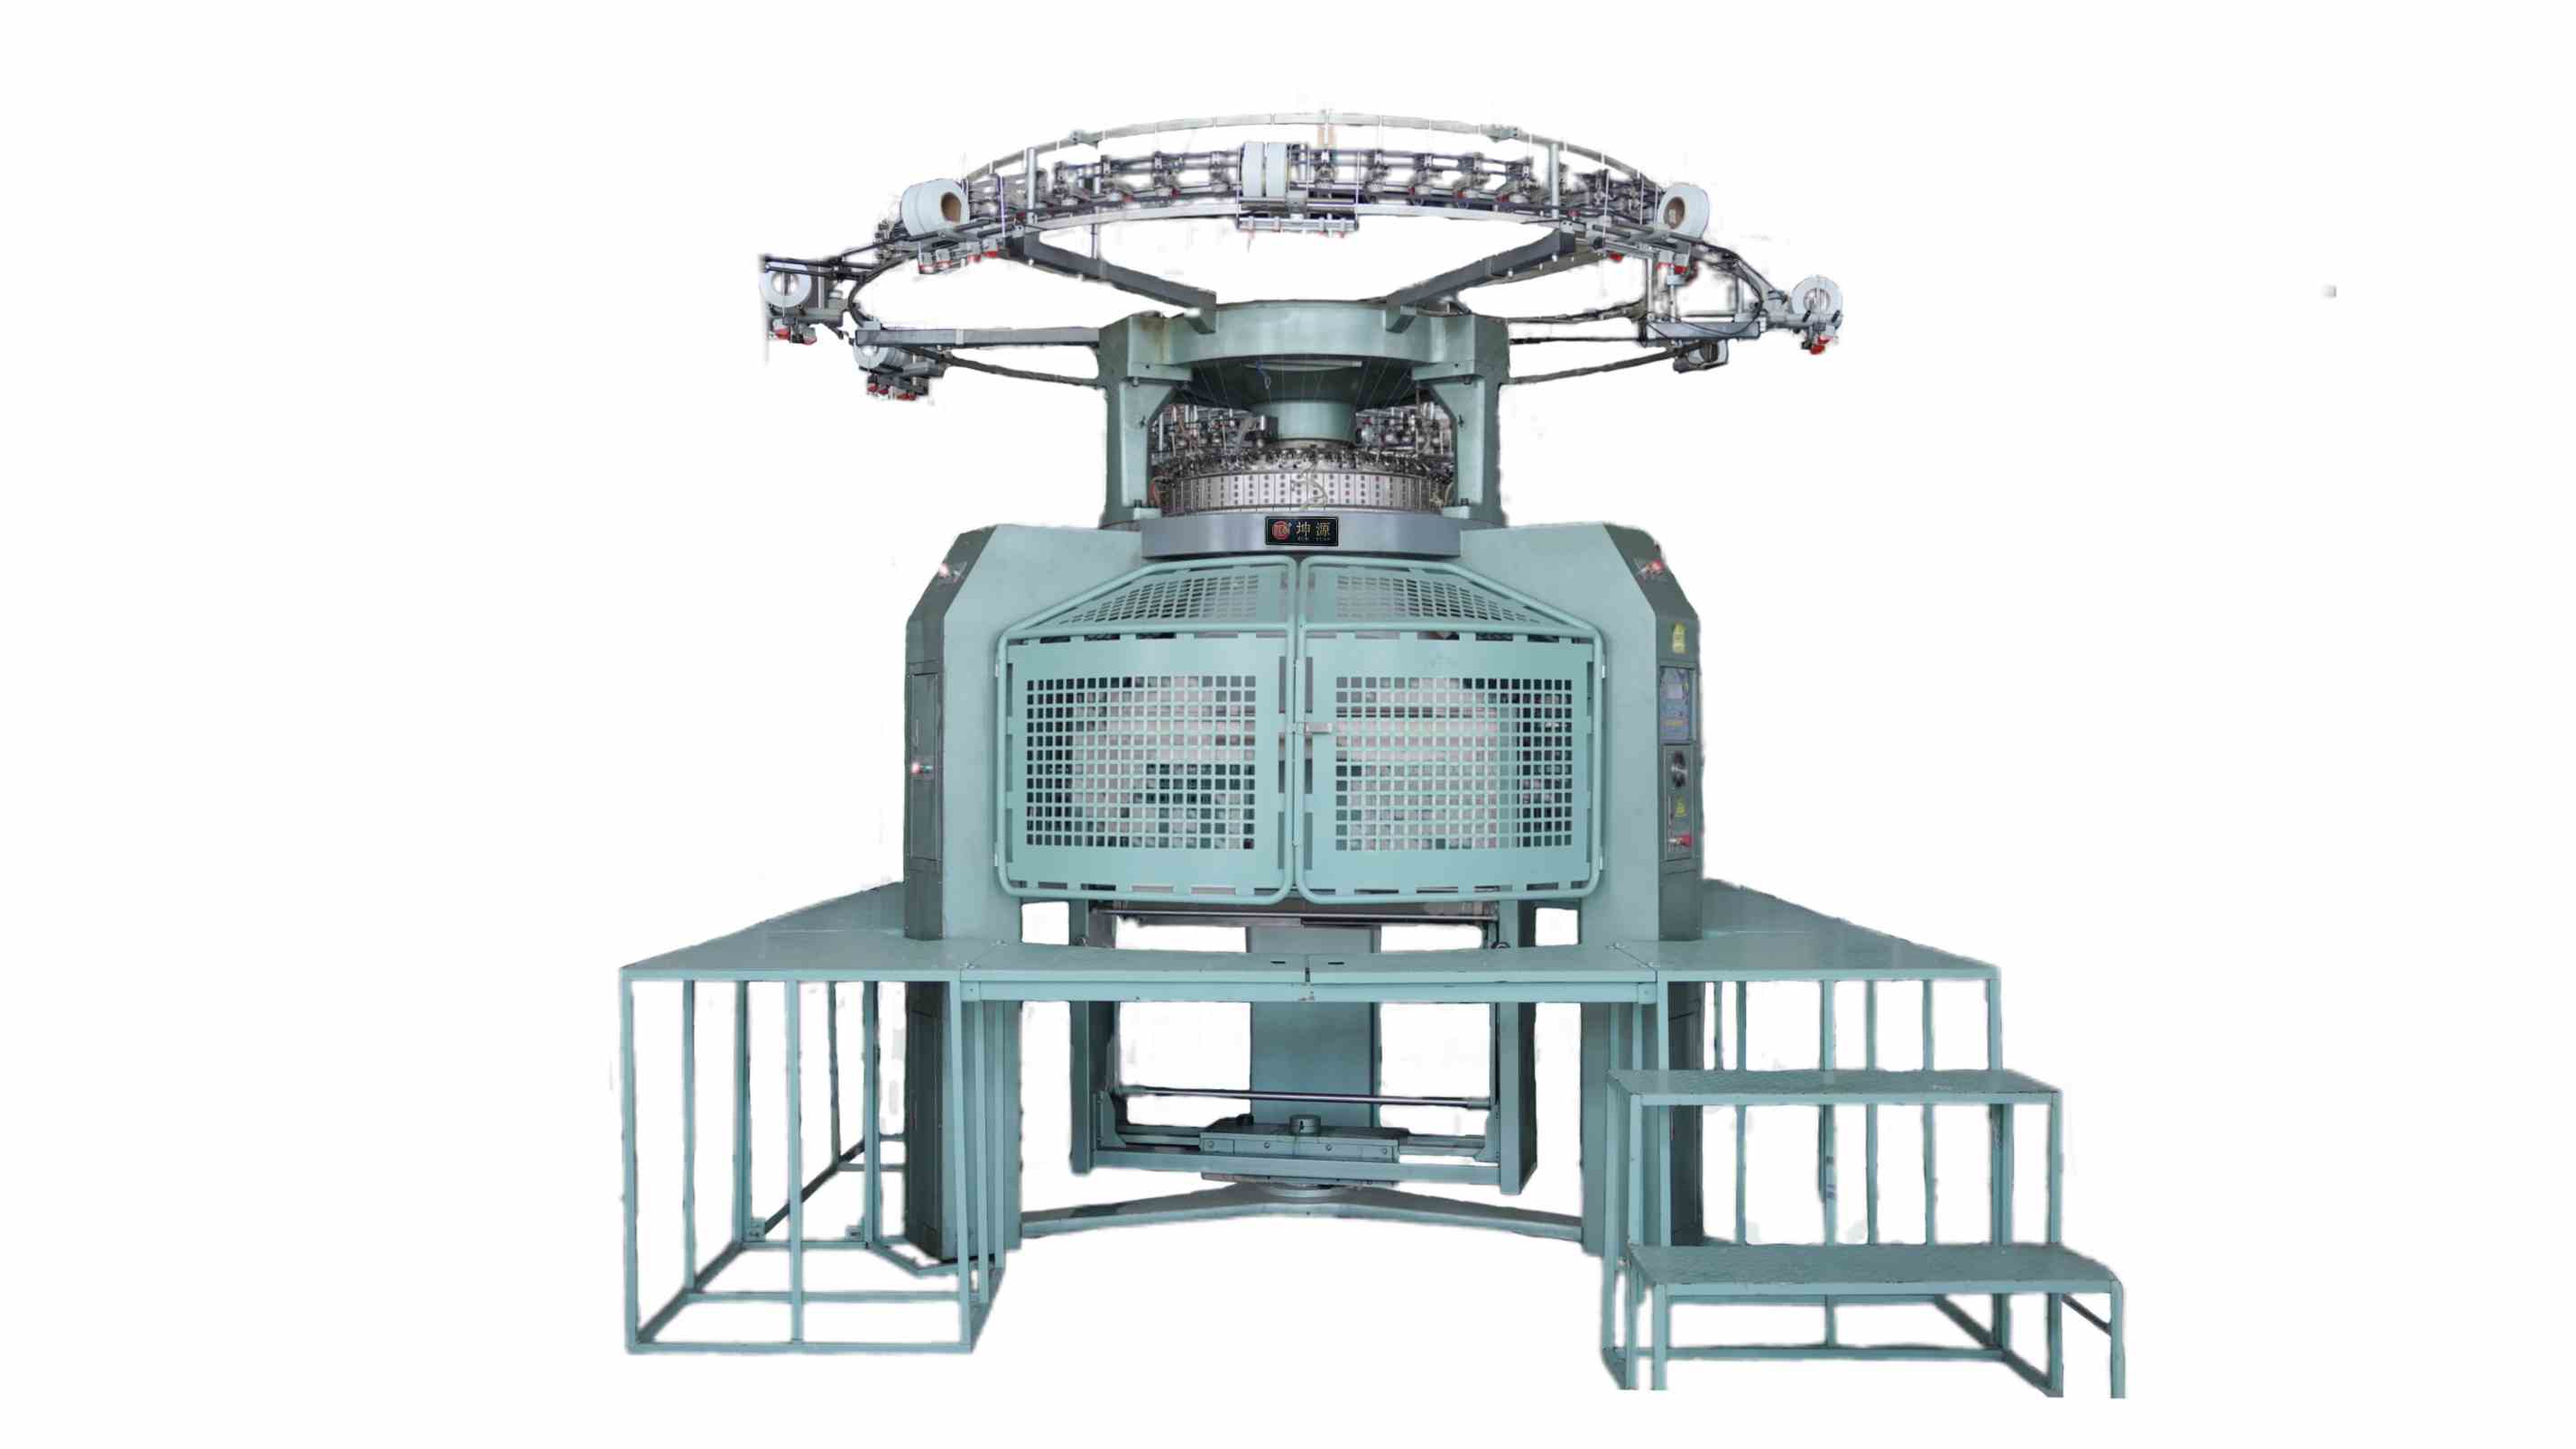
Verify cylinder, dial, needles and tracks on the offered build.
Four-variable trial notebook
Variable
Freeze first
Observe at machine
Verify on fabric
Gauge/needle set
Exact parts and set-out
Damage and track position
Loop scale and repeating marks
Timing/dial
Manual reference and measured position
Clearance and loop formation
Definition and dropped stitches
Yarn delivery
Packages, route and device settings
Tension events and plating
Bands, grin-through and recovery
Take-down
Roller/spreader condition
Slip and roll build
Width, density and restart line
Record each feed path before diagnosing a vertical line.Mark change and restart positions before the fabric leaves the machine.
Rib parameter questions
Can gauge be changed by adjusting cams?
No. Gauge is tied to the needle bed and needles. Conversion scope is model-specific and may require substantial matched parts.
Is delayed timing always better for rib elasticity?
No universal timing is best. Use the machine documentation and judge the specific yarn, rib structure, stability and finished recovery.
Why mark every setting change on the roll?
It connects fabric evidence to the exact condition and prevents later sections from being attributed to the wrong adjustment.
Should speed be optimized before take-down?
No. Establish stable loop formation, delivery and fabric handling first, then increase speed in recorded steps.
What proves the setting is ready for operators?
An operator should be able to reload the documented condition, restart the machine and reproduce the accepted fabric without hidden technician adjustments.
Conclusion
Rib setup becomes understandable when gauge and parts establish the geometry, cylinder-dial timing controls the loop event, yarn delivery supplies the material and take-down releases it consistently. A marked roll and one-variable notebook turn those relationships into a reloadable production condition.




 Tel: +86-13859034518
 Email: info@kunyuanmachine.com
 MP/WhatsApp: +86-13859034518
 Manufacturer Address:Bacuo Village, Yonghe Town, Jinjiang City, Fujian Province